
Table of Contents
- Start with Water and Food: The Non-Negotiable Foundation
- Emergency Preparedness Checklist: What Actually Matters
- How Long Should Emergency Supplies Last for Your Family
- DIY Emergency Kit Items You Can Source Cheaply
- Budget-Friendly Sourcing Strategies That Actually Work
- Go-Bag vs. Stay-at-Home Kit: Choose What Fits Your Budget
- Inventory Management: Track Your Kit Without Wasting Money
- Conclusion
Last Updated: August 23, 2026
Building a disaster kit on a budget doesn't mean compromising on essentials. Many households delay emergency preparedness assuming it requires thousands of dollars. The truth is simpler: a functional disaster kit starts with core items, grows through strategic sourcing, and protects your family during critical hours. This guide from SHTF Prepper Club walks you through creating a survival kit covering water, food, first aid, communication, and power without draining your savings.
Start with Water and Food: The Non-Negotiable Foundation
Water and food form the backbone of any disaster kit. Your family needs at least one gallon of drinking water per person per day (fema.gov). For a family of four, that's 120 gallons for a month. Fill food-grade containers from your tap and rotate them every six months, this costs almost nothing and keeps supplies fresh.
Non-perishable food should focus on items your family actually eats. Canned goods, dried beans, pasta, peanut butter, and oats store for years with minimal preparation. Buy during grocery sales and gradually build your supply. Include foods requiring no cooking: crackers, granola bars, nuts, dried fruit, and canned tuna.
The key mistake is buying specialty "emergency food" your family won't eat. Instead, rotate regular groceries into your kit. Buy two of everything you normally consume, use the older one, and replace it. This keeps supplies fresh, ensures your family likes the food, and costs nothing extra.
Emergency Preparedness Checklist: What Actually Matters
An emergency preparedness checklist prevents buying items you don't need while ensuring you don't miss essentials. Strip it down to what genuinely keeps your household safe.
Your core checklist includes:
- Water (one gallon per person per day, minimum two weeks)
- Non-perishable food (two-week supply, items your family eats)
- First aid kit (bandages, antiseptic, pain relievers, prescription medications)
- Flashlights and batteries (multiple flashlights, alkaline batteries, hand-crank backup)
- Battery-powered or hand-crank radio (for emergency alerts)
- Medications and medical supplies (prescriptions, glasses, insulin, inhalers)
- Important documents (copies of insurance, deeds, IDs in waterproof container)
- Cash (in small bills, since ATMs may not work)
- Phone chargers (battery pack, car charger, hand-crank option)
- Multi-purpose tools (knife, wrench, screwdriver set)
- Sanitation supplies (toilet paper, hand sanitizer, wet wipes, trash bags)
- Shelter items (blankets, sleeping bags, tarp, duct tape)
This list covers 95 percent of realistic scenarios. Don't buy items because they sound preparedness-related; buy them because they solve a specific problem your family might face.
How Long Should Emergency Supplies Last for Your Family
Most emergency preparedness guidance recommends a minimum two-week supply (the CDC). Two weeks covers power outages, severe weather, supply chain disruptions, and temporary shelter-in-place scenarios. This timeframe is achievable on almost any budget and handles the vast majority of realistic emergencies.
For families in disaster-prone areas (earthquake zones, hurricane regions, flood plains), extending to one month provides additional security. A one-month supply spreads across gradual purchases, buy extra items each week instead of all at once.
Beyond one month, you're building long-term food independence rather than emergency preparedness. Start with two weeks, establish that as your baseline, then decide whether to extend based on your location and risk profile.
DIY Emergency Kit Items You Can Source Cheaply
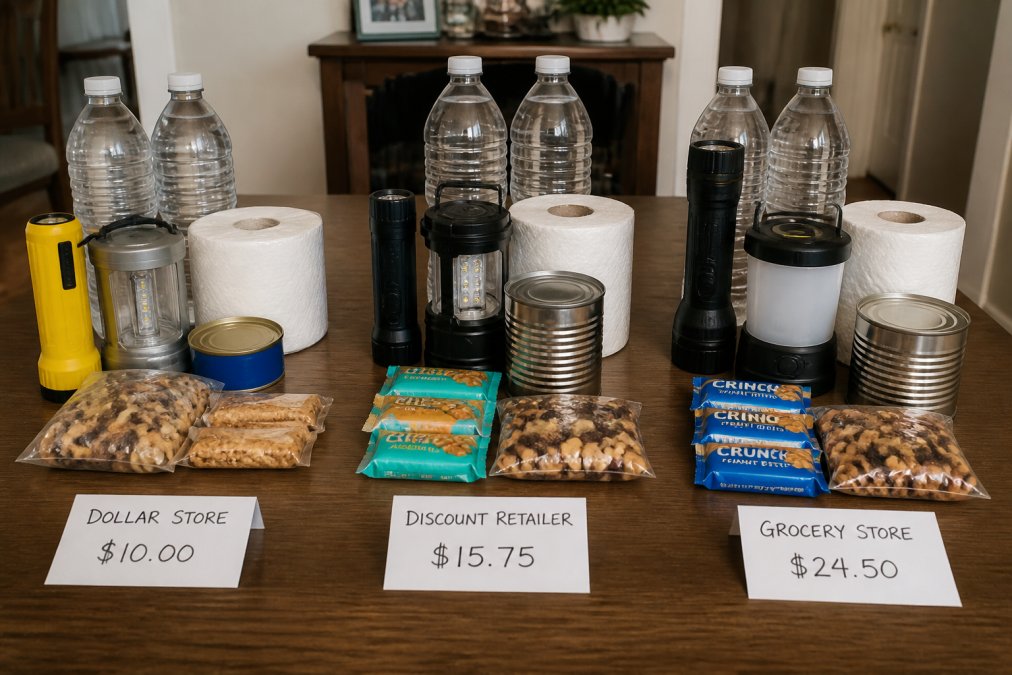
Building a disaster kit on a budget means sourcing individual items rather than buying pre-assembled kits. Dollar stores, discount retailers, and sale sections of regular grocery stores become your best friends.
First Aid and Medical Supplies
A basic first aid kit costs under twenty dollars if you assemble it yourself. Buy a plastic tackle box from a dollar store, then fill it with bandages, gauze, antiseptic wipes, antibiotic ointment, pain relievers, anti-diarrhea medication, antacids, and antihistamines. Add prescription medications and copies of prescriptions. If someone wears glasses, include a spare pair. These supplies address 90 percent of minor medical issues.
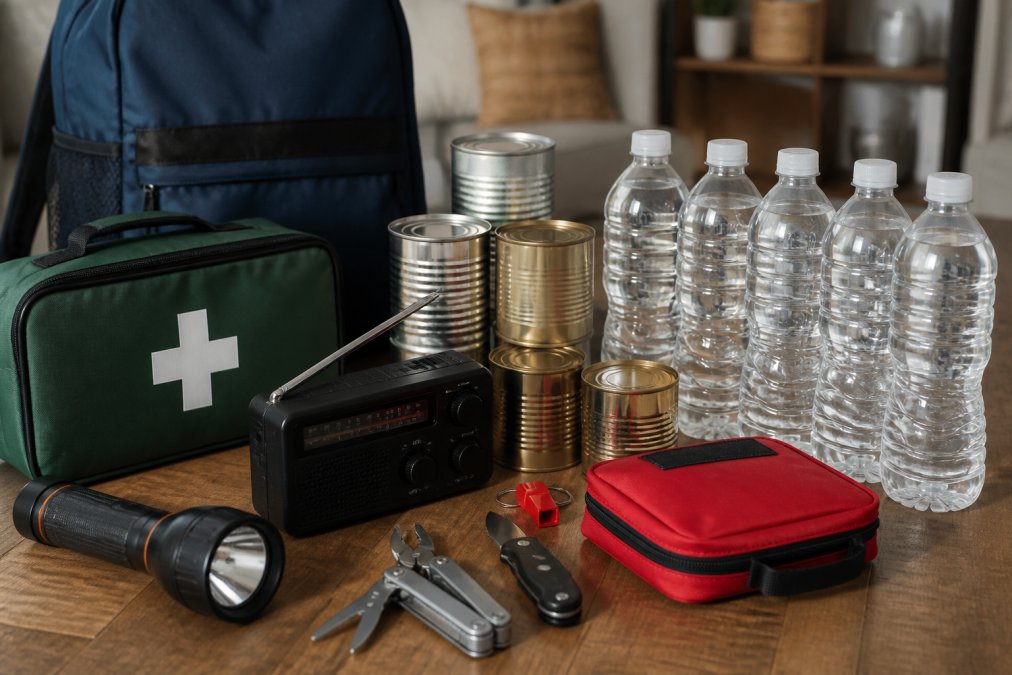
Don't buy expensive specialty first aid kits. A twenty-dollar assembled kit works as well as a hundred-dollar pre-made one.
Communication and Power
A battery-powered or hand-crank radio costs fifteen to thirty dollars and keeps your household informed during emergencies. Pair it with a flashlight (five to ten dollars) and extra batteries. A hand-crank flashlight doubles as both light and radio, saving money and space.
For phone charging, a portable battery pack costs twenty to thirty dollars and charges phones multiple times without electricity. A hand-crank phone charger provides backup for under ten dollars.
Budget-Friendly Sourcing Strategies That Actually Work
The difference between an expensive disaster kit and a budget one is how and where you acquire items. Strategic sourcing turns emergency preparedness into a gradual, painless process costing significantly less than pre-assembled kits.
Dollar stores and discount retailers are your primary sourcing channels. Dollar stores carry flashlights, batteries, first aid supplies, canned goods, and hygiene items at 30-50 percent lower prices than grocery stores. A single AA battery costs roughly $0.25 at a dollar store versus $1.00+ at a pharmacy. Canned vegetables run $0.25-$0.50 per can. Over a year of gradual purchasing, these savings compound significantly. Discount retailers like Walmart and Target offer bulk pricing on non-perishable food, water, and batteries that beats regular grocery stores.
Buy during predictable sales cycles, not emergencies. Canned goods typically go on sale around major holidays. Batteries are discounted during back-to-school season and Black Friday. First aid supplies drop in price after major holidays. Water is cheapest in winter months. By tracking these cycles and buying during dips, you reduce per-item cost by 20-40 percent compared to regular prices. Use grocery store apps and email newsletters to receive sale notifications.
Leverage bulk buying groups and online discount platforms. Costco and Sam's Club memberships ($50-$65 annually) pay for themselves quickly if you buy non-perishable food in bulk. A case of 24 cans costs roughly 30 percent less per unit than buying individual cans. Community bulk-buying groups allow you to split bulk purchases with neighbors without requiring a membership fee. Amazon's Subscribe & Save offers 5-20 percent discounts on non-perishable items with automatic monthly deliveries.
Buy generic and store-brand versions exclusively. Name-brand canned vegetables cost 15-25 percent more than store-brand equivalents with identical nutrition and taste. The same applies to batteries, first aid supplies, and most emergency items. Over time, this discipline saves hundreds of dollars.
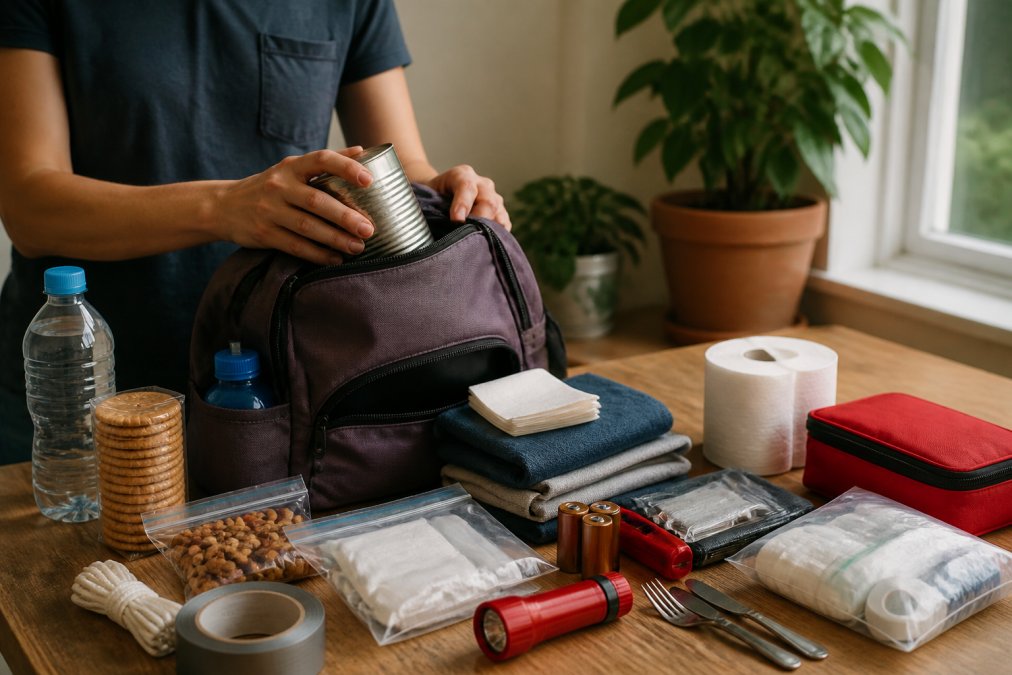
Repurpose household items to eliminate unnecessary purchases. A sturdy backpack becomes a go-bag. Plastic storage bins work as water containers. Old blankets and tarps serve as emergency shelter. A multi-tool, duct tape, and paracord handle dozens of scenarios. Mason jars store dried goods. Before buying specialized equipment, audit your home for items that already solve the problem. This approach cuts costs by 20-30 percent.
Set a monthly budget and automate purchases. Rather than spending $300 at once, commit to $25 per month on emergency supplies. Over a year, you've built a comprehensive kit without financial shock. Set a calendar reminder on the first of each month to buy one or two items from your checklist. This discipline ensures consistent progress without decision fatigue.
Track your spending and celebrate milestones. Note how much you've invested in your disaster kit. Many people are surprised to discover they've spent less than expected because purchases were spread over months. Tracking spending builds confidence that emergency preparedness is achievable without financial strain.
Go-Bag vs. Stay-at-Home Kit: Choose What Fits Your Budget
A go-bag (evacuation kit) and a stay-at-home kit serve different purposes. Your budget determines whether you build both or prioritize one.
A go-bag is a portable backpack containing essentials for leaving your home quickly: copies of important documents, medications, cash, a change of clothes, a flashlight, batteries, a portable phone charger, a small first aid kit, and non-perishable snacks. A functional go-bag costs fifty to seventy-five dollars.
A stay-at-home kit is larger and stays in your house, including water, food, first aid supplies, medications, a radio, flashlights, batteries, sanitation supplies, and shelter items for two weeks or longer.
If your budget is tight, build the stay-at-home kit first. Most disasters don't require evacuation. If you live in an evacuation-prone area (coastal regions, wildfire zones, flood plains), prioritize the go-bag. Many families build both gradually, starting with essentials for their most likely scenario.
Inventory Management: Track Your Kit Without Wasting Money
An inventory system prevents duplicate purchases, forgotten items, and wasted money on expired supplies. A functional system doesn't require software, just discipline and a simple tracking method.
Create a physical inventory list organized by category. Use a spreadsheet or printed checklist divided into sections: water, food, first aid, medications, communication, power, documents, and shelter. For each item, record quantity, purchase date, and expiration date. Keep a printed copy in your go-bag and a digital copy on your phone. Include storage location to prevent buying duplicates when you forget where items are stored.
Implement a rotation schedule to prevent waste. The "first in, first out" (FIFO) method keeps supplies fresh. When you buy new canned goods, place them behind older cans. For water, rotate containers every six months. Check medication expiration dates every three months.
Set calendar reminders for rotation:
- First Sunday of January: Check all medication expiration dates
- First Sunday of April: Rotate water supplies
- First Sunday of July: Audit canned food expiration dates
- First Sunday of October: Replace batteries and check flashlight function
Use expiring items in your regular meals to prevent waste. When items approach expiration, rotate them into household meals immediately. This prevents waste and normalizes eating your emergency supplies, ensuring your family is comfortable with them during a real crisis.
Photograph your kit for quick reference and insurance purposes. Take photos of your go-bag contents, stored water and food, and first aid kit. Store these on your phone and in cloud storage. During a crisis, you can quickly verify what you have. Photos also serve as documentation for insurance claims.
Create a simple spending log to track total investment. Record date, item, quantity, cost, and store for every purchase. This shows how much you've actually spent (often less than expected), prevents duplicate purchases, and identifies which stores offer the best prices. After six months, review the log to refine your sourcing strategy.
Assign one household member as the "kit manager." Emergency preparedness fails when no one is responsible for maintenance. This person coordinates inventory management, tracks expiration dates, and reminds family members when rotation is due.
Store your inventory list where family members can find it. If you're incapacitated during a disaster, others need to know what supplies exist and where they're stored. Keep a printed copy in your go-bag, taped inside a kitchen cabinet, and stored with important documents. Include a note explaining the rotation schedule.
Frequently Asked Questions
Q: How do I create a disaster kit if I'm on a tight budget?
A: Start with the essentials: water, non-perishable food, and a basic first aid kit. Buy one or two items per shopping trip instead of everything at once. Use household items you already own, plastic bottles for water storage, old blankets for warmth, and kitchen supplies for sanitation. Shop sales, use discount retailers, and check dollar stores for flashlights, batteries, and first aid supplies. A functional disaster kit doesn't require premium gear; it requires planning and gradual assembly.
Q: What should be in a disaster supply kit for my family?
A: Your disaster kit should include potable water (one gallon per person per day), non-perishable food for several days, a battery-powered flashlight, extra batteries, a first aid kit, medications, important documents, an emergency contact list, and a battery-powered or hand-crank radio. Add personal hygiene items, sanitation supplies, and any household-specific needs like pet food or baby formula. Tailor it to your family's size and any medical conditions. The goal is self-sufficiency for 72 hours minimum, though longer is better.
Q: How long should emergency supplies last for a family?
A: Start with a minimum of 72 hours (three days) of supplies for each family member. This covers most short-term emergencies like power outages or weather events. For better disaster resilience, aim for two weeks of non-perishable food and water. If you live in a disaster-prone area or have limited access to resupply routes, consider building toward 30 days or more. Rotate supplies regularly so nothing expires, and gradually expand your kit as your budget allows.
Q: Is it cheaper to buy or make your own first aid kit?
A: Building your own first aid kit is almost always cheaper than buying pre-assembled kits. Purchase individual items like bandages, gauze, antiseptic, pain relievers, and antihistamines from dollar stores or discount retailers. A basic homemade kit costs $15-30, while commercial kits often run $40-80. You also control what goes in it based on your family's specific needs. Keep your kit in a waterproof container and check it annually to replace expired items.
This article was written using GrandRanker