
Table of Contents
- Assess Your Suburban Home's Specific Disaster Risks
- Reinforce the Building Envelope: Roof, Windows, and Doors
- Flood Mitigation and Drainage for Suburban Properties
- Utility Shut-Off Procedures and Electrical Safety
- Emergency Power Solutions for Suburban Homes
- Best Disaster Survival Gear for Families and Smart Home Tech
- Your Home Emergency Preparedness Checklist and Recovery Workflow
- Conclusion
- Frequently Asked Questions
Last Updated: September 5, 2026
The gap between a suburban house that survives a disaster and one that doesn't is rarely luck. It is the result of deliberate choices made months before the storm, flood, or wildfire ever arrives. This guide walks you through the specific hardening tasks and emergency systems that give your household the best chance of staying safe.
Most suburban homeowners are not starting from zero, but they are often starting from the wrong place. They buy a generator or stock water before they have reinforced the front door or checked their roof fasteners. The best disaster survival gear cannot compensate for a weak building envelope.
Assess Your Suburban Home's Specific Disaster Risks
A home emergency preparedness checklist that ignores your local geography is just a list of expensive guesses. The first step is conducting a hazard assessment for your specific property. Check FEMA flood maps to determine if your street sits in a designated floodplain, and review your state's building codes to see if seismic retrofits are recommended.
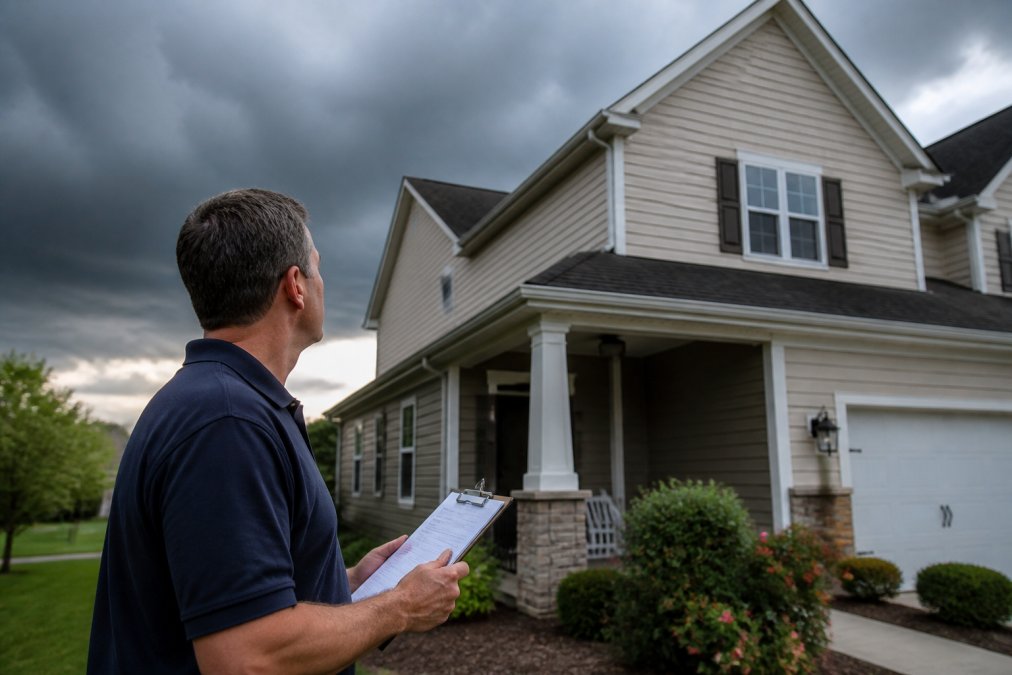
Walk the perimeter of your lot with a critical eye. Identify large trees whose branches overhang the roof, check the grading around your foundation to ensure water flows away from the house, and look for loose siding or missing shingles that high winds could turn into projectiles. This assessment tells you whether your top priority is flood mitigation, high-wind resistance, or structural reinforcement.
Reinforce the Building Envelope: Roof, Windows, and Doors
The building envelope is your home's first line of defense, and it is where most suburban homes are weakest. High winds and flying debris enter through the largest openings, so reinforcing your roof, windows, and doors delivers the highest return on investment.
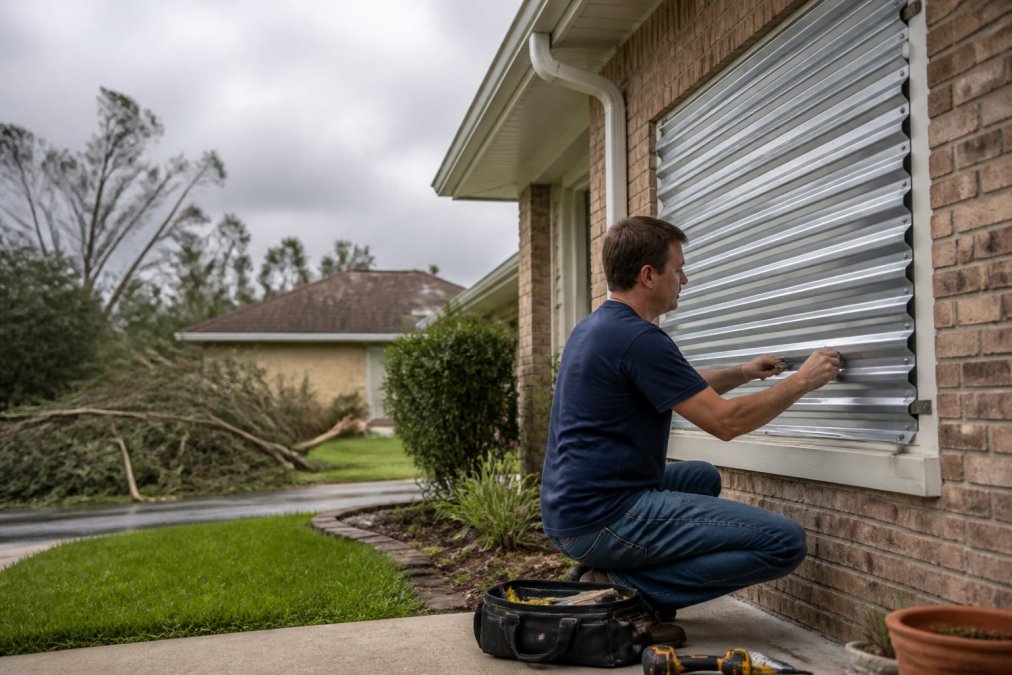
Roof fasteners are a common failure point. Many existing homes were built with staples rather than nails or metal straps, which pull loose under sustained wind pressure. A professional can assess whether your roof needs additional fasteners or hurricane clips. For windows, impact-resistant glass is the gold standard, but if a full replacement is not in the budget, storm shutters or plywood panels cut to fit provide a reasonable alternative. A garage door bracing kit prevents it from buckling inward and allowing wind to pressurize the entire house.
Flood Mitigation and Drainage for Suburban Properties
Water damage prevention starts outside the house, not in the basement. The ground around your foundation should slope away from the house at a rate of about one inch per foot for the first six to ten feet (hud.gov). If your lot is flat, consider regrading or installing a French drain to channel water away.
Downspout extensions are a cheap and immediate fix. Ensure they carry water at least five feet from the foundation, and keep your gutters clear of debris so heavy rain does not overflow and pool against the walls.
The Suburban Catch: HOA and Municipal Approval
Before you rent an excavator or pour concrete, understand that suburban flood mitigation is rarely a purely DIY project. Most municipalities require a permit for any regrading that alters drainage patterns on your lot, and your HOA likely has architectural review rules that govern visible changes. A French drain that outlets onto a neighbor's lawn can create a legal liability and a neighbor dispute that far outlasts the storm.
Start by reviewing your HOA's architectural guidelines and your local zoning ordinance. Many suburban jurisdictions follow the International Residential Code, which requires that the finished grade slopes away from the foundation, but they may also restrict how much you can alter the natural topography (iccsafe.org). If you are planning a significant regrade, submit a site plan to your local building department and your HOA's architectural review committee before you break ground.
Practical, Compliant Solutions
If full regrading is not feasible or permitted, focus on solutions that work within the existing grade. A subsurface French drain connected to a dry well or a sump pump discharge line can move water without changing the visible slope of your yard. Many suburban communities now require sump pump discharge to be routed away from the foundation and not directly onto neighboring properties or sidewalks. Check your local code for the specific distance requirement, which commonly ranges from five to ten feet from the foundation.
For properties in known flood zones, removable flood barriers or a stockpile of sandbags can protect doorways and basement windows during a rising water event. These barriers are only effective if you have practiced installing them, so store them in an accessible location and do a dry run before the season begins. Verify that your HOA allows temporary barriers; some communities restrict sandbag placement on front lawns.
A final consideration is the condition of your community's shared drainage infrastructure. Suburban developments often rely on detention ponds, culverts, and storm drains maintained by the HOA or the municipality. If these systems are clogged or undersized, your individual efforts may be insufficient. Attend your HOA's annual meeting and ask about the maintenance schedule for stormwater infrastructure.
Utility Shut-Off Procedures and Electrical Safety
Knowing how to shut off your utilities is as critical as any physical reinforcement. During a natural disaster, a damaged gas line or downed power line can turn a survivable event into a catastrophic fire. Every adult in the household should know the location of the main gas valve, the main water shut-off, and the electrical breaker panel, and how to turn each one off safely.
For natural gas, the shut-off requires a wrench, typically a 12-inch adjustable wrench, and a quarter-turn of the valve. Do not shut off the gas unless you smell gas or suspect a leak, because only a professional can safely turn it back on. For electricity, if you have time before an evacuation, shut off the main breaker to prevent power surges from starting fires when the grid comes back online. Ensure you have working carbon monoxide detectors on every level of the home, particularly if you plan to run a generator.
Emergency Power Solutions for Suburban Homes
When the grid goes down, emergency power solutions are what separate a brief inconvenience from a dangerous situation. The right choice depends on your budget, your space, and whether you plan to shelter in place or evacuate. A portable generator is the most common starting point, but it requires a safe outdoor location, a heavy-duty extension cord setup, and a supply of fuel that must be rotated regularly.
For a more permanent solution, a whole-house standby generator connected to your natural gas line turns on automatically within seconds of an outage. It is a larger investment, but it protects your sump pump, refrigerator, and heating system without any action on your part. Battery storage systems are silent and require no fuel, but they have a limited runtime compared to a generator. For most suburban families, a mid-sized inverter generator that can run the refrigerator, lights, and a space heater is the practical sweet spot.
Best Disaster Survival Gear for Families and Smart Home Tech
The best disaster survival gear for families is the gear you have tested and know how to use. A curated kit should cover five core needs: water, food, first aid, light, and communication. For water, a combination of stored bottles and a reliable filter system covers both short outages and extended emergencies. For food, focus on items that require minimal preparation and that your family will actually eat.
Smart home technology has become a legitimate layer of home resiliency, not a gimmick. Smart smoke and carbon monoxide detectors alert your phone even when you are not home, and some models interconnect to shut off your HVAC system when a fire is detected. Smart water leak sensors placed near the water heater, under sinks, and in the basement can catch a burst pipe within minutes. A smart thermostat helps you monitor indoor temperatures remotely during an outage, so you know if pipes are at risk of freezing while you are away.
| Need | Recommended Approach | Key Consideration |
|---|---|---|
| Water | Stored bottles + filter system | Rotate stored water every 6-12 months |
| Food | Minimal-prep, family-friendly items | Test items before storing in bulk |
| Power | Inverter generator or battery bank | Never run generators indoors |
| Detection | Smart smoke/CO sensors and leak detectors | Test alerts monthly and replace batteries |
| Communication | Battery-powered NOAA weather radio | Know your local alert codes |
Your Home Emergency Preparedness Checklist and Recovery Workflow
A home emergency preparedness checklist is only useful if it ends with a recovery workflow. The preparation phase prevents damage and keeps your family safe, but the recovery phase determines how quickly you return to normal life. Top-ranking articles tell you to "document damage" and "file a claim," but they rarely walk you through the actual sequence of decisions in the chaotic first 48 hours after a disaster.
The First 48 Hours: A Suburban Recovery Workflow
Your recovery workflow should begin with a communication plan. Designate an out-of-state contact who can relay messages between family members, since local cell towers may be down. Establish a meeting point outside your home in case of sudden evacuation. Write these names and numbers on a physical card in your emergency kit, not just in your phone.
Hour 0-2: Safety and Triage. Do not re-enter your home until local authorities say it is safe. Check for visible structural damage, downed power lines, and the smell of gas. If you suspect a gas leak, turn off the main valve with your wrench and do not turn it back on yourself. Attend to any medical needs first.
Hour 2-6: Document Everything. This is the most critical window for insurance. Before you move a single piece of debris or start any temporary repair, take photos and video of every room, every damaged item, and the exterior of your home from all angles. Capture the water line on the walls, the fallen tree on the roof, the missing shingles. Open closets and cabinets and film the contents. Store these files immediately in a cloud backup if any connectivity exists, and keep a second copy on a waterproof USB drive in your go-bag.
Hour 6-24: Temporary Mitigation. Your insurance policy typically requires you to take reasonable steps to prevent further damage. This means tarping a damaged roof, boarding broken windows, and moving wet furniture to a dry area. Keep every receipt for materials and labor; these are reimbursable under most policies.
Day 2: Claims and Professional Help. Contact your insurance company to file your claim. Have your policy number and your documentation ready. Be prepared for long hold times; everyone in your area is calling at the same time. While you wait, begin a detailed written inventory of damaged items, including approximate purchase dates and values. This is the step where most suburban families lose money, because they rely on memory rather than a written log.
The Year-Round Checklist That Makes Recovery Possible
Insurance coverage review is a year-round task, not a post-disaster one. Standard homeowner policies often exclude flood damage, which requires a separate policy through the National Flood Insurance Program. Schedule an annual review with your agent to confirm your coverage matches your current risk assessment. Store digital copies of your insurance documents, home inventory, and important records in a waterproof fireproof safe and in a cloud-based backup.
Finally, rehearse this workflow once a year. A tabletop exercise where your family walks through the steps without an actual emergency takes less than an hour and exposes gaps in your plan. Does everyone know where the wrench for the gas valve is? Can your spouse log into the insurance app? Is the out-of-state contact still reachable?
Conclusion
Securing a suburban home for natural disasters is not a single weekend project; it is a continuous process of assessment, hardening, and rehearsal. The work you do this month, from reinforcing your garage door to testing your generator, is an investment in your family's safety that pays dividends only when you need it most. SHTF Prepper Club exists to remove the guesswork from family preparedness, offering expert-vetted food storage, water filtration, and power solutions that are ready when you are. Get started with SHTF Prepper Club and turn your preparedness plan into a reality your family can rely on.
Frequently Asked Questions
What structural upgrades provide the best protection against high winds?
For a suburban home, the most effective wind upgrades are impact-resistant windows and garage door bracing. Reinforcing the roof-to-wall connection with metal straps or clips is also critical, as this is where homes often fail first. These upgrades help maintain the building envelope, preventing pressure buildup that can tear the roof off. While a full seismic retrofit is a larger project, adding plywood sheathing and anchor bolts in key areas boosts structural integrity against both wind and earthquakes.
How do I create a home emergency preparedness checklist for my family?
Your checklist should start with a family communication plan, including an out-of-state contact and a designated meeting spot. Next, assemble a go-bag for each person with water, non-perishable food, medications, and copies of important documents. Include items like flashlights, a battery-powered radio, and a first-aid kit. Finally, schedule regular drills for evacuation and shelter-in-place scenarios so everyone remembers the steps. Review and update your supplies every six months, when you change your clocks.
What are the first steps to take after a natural disaster damages my home?
First, ensure your family is safe and attend to any injuries. Do not re-enter a damaged home until authorities say it is safe. Once inside, document all damage with photos and video before any cleanup, as this is critical for your insurance claim. Shut off utilities if you suspect a gas leak or electrical damage. Then, contact your insurance company to file a claim and begin the recovery workflow by hiring licensed contractors for repairs.
Does an HOA have the right to restrict my disaster preparedness upgrades?
Yes, many HOAs have rules about exterior modifications, which can affect storm shutters, permanent generators, or certain roof materials. Before you buy equipment, review your HOA covenants and submit a modification request for approval. Some states have laws that limit HOA power over water conservation or solar panels, but rules for other disaster hardening are often upheld. Be proactive, get approval in writing, and focus on upgrades that are not visible from the street, like foundation anchoring or bracing.
This article was written using GrandRanker