
Table of Contents
- Assess Your Home's Essential Energy Needs
- How to Calculate Home Power Consumption
- Select Your Backup Power System Type
- Portable Power Station vs Home Generator: Which Fits Your Needs
- Essential Components for Your Home Emergency Power Backup
- Emergency Power System Safety Standards and Electrical Codes
- Installation Steps and Wiring Your System
- Maintenance and Long-Term System Care
- Frequently Asked Questions
Last Updated: September 1, 2026
Building a home emergency power backup system doesn't require an engineering degree or a fortune in equipment. The core principle is straightforward: calculate what you need to power, select the right components, and wire them safely. This guide walks you through how to build a home emergency power backup system from assessment to installation, so your household stays operational when the grid goes down.
At SHTF Prepper Club, we provide expert guidance and vetted equipment to simplify family emergency preparedness. The difference between a system that works and one that doesn't comes down to understanding your load, matching it to your power source, and following electrical codes.
Assess Your Home's Essential Energy Needs
Before you buy a single component, identify what actually needs to stay powered during an outage. Most households don't need to run everything, just the critical stuff.
Walk through your home and list appliances by category: heating or cooling, refrigeration, lighting, water pumps, medical devices, communications. Focus on what keeps your family safe, fed, and connected. For most families, this means the refrigerator, some lights, a phone charger, and perhaps a space heater or fan. Medical equipment, sump pumps, or well pumps move to the top of the list if applicable.
This assessment determines everything downstream: battery capacity, inverter size, charge controller rating, and wiring gauge.
How to Calculate Home Power Consumption
Your electrical load is measured in watts. Peak power (the surge when something first turns on) differs from continuous power (what it draws while running). Both matter for a home emergency power backup system.
Start with the nameplate on each appliance. If it shows amps, multiply by 120 volts to get watts. Create a simple spreadsheet:
| Device | Watts | Hours/Day | Watt-Hours/Day |
|---|---|---|---|
| Refrigerator | 600 | 8 | 4,800 |
| LED Lights (3 bulbs) | 45 | 6 | 270 |
| Laptop Charger | 65 | 4 | 260 |
| Phone Chargers (2) | 30 | 3 | 90 |
| Space Heater | 1,500 | 4 | 6,000 |
| Total | 11,420 |
This household needs roughly 11,420 watt-hours per day. Round up to 12,000 watt-hours for safety margin and inefficiency losses.
Now calculate peak power. A refrigerator compressor draws 2,000-3,000 watts for a few seconds when it kicks on (energy.gov). Your inverter must handle this surge, or it will shut down. Add up the three largest devices' peak draws, that's your minimum inverter capacity. Many people underestimate this and end up with an inverter that's too small.
Select Your Backup Power System Type
Two main architectures exist for home emergency power backup: battery-based systems and generator-based systems.
Battery-Based Systems
Battery systems store energy when the grid is up or when solar panels are generating, then supply power when needed. They're silent, produce no emissions, and require no fuel. The downside is cost and capacity limits.
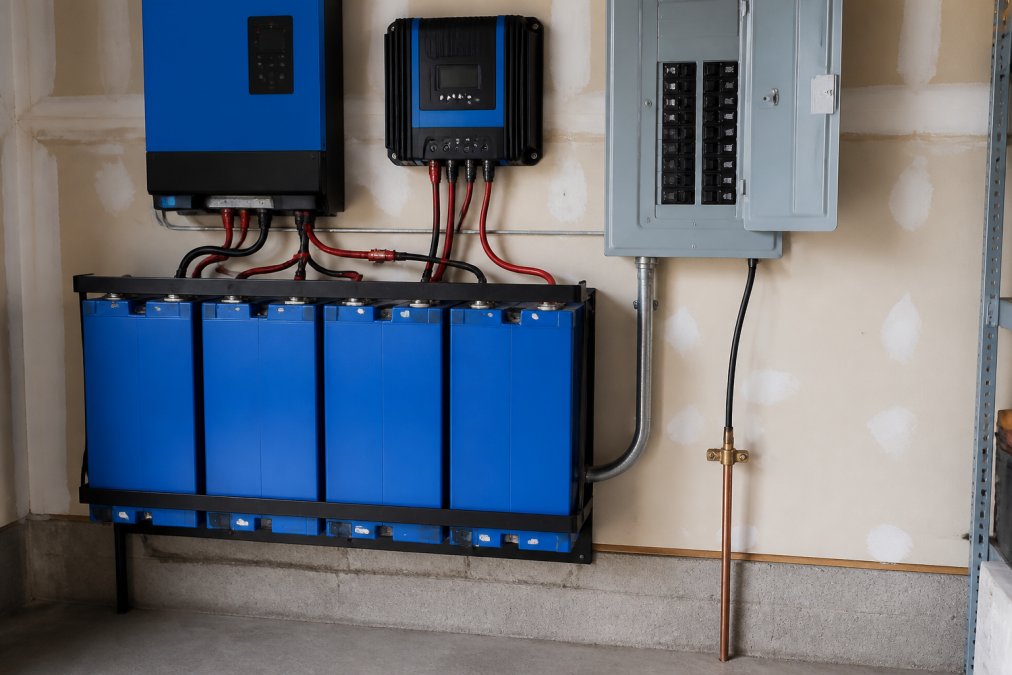
A typical battery-based system includes a battery bank (usually lithium iron phosphate or lead-acid), a charge controller, an inverter, and wiring. This system can power your essential load for 8-24 hours depending on battery size. Battery systems excel for short outages and are ideal if you have solar panels. The main limitation is capacity, a 10 kilowatt-hour battery bank costs several thousand dollars.
Generator-Based Systems
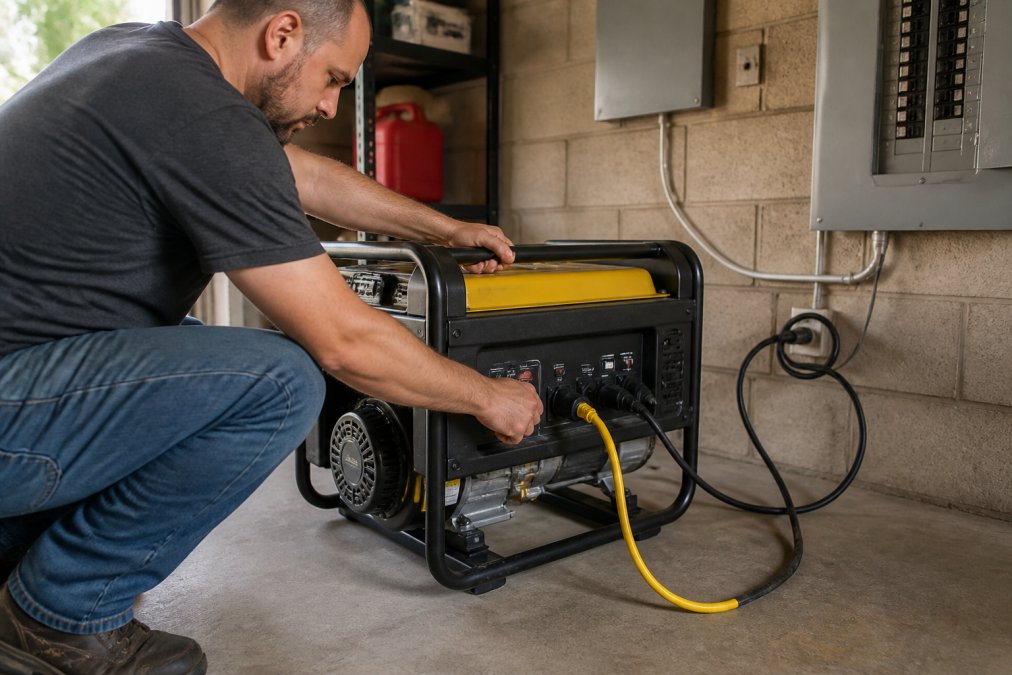
A backup generator burns fuel (gasoline, propane, or diesel) to produce electricity on demand. Generators can run indefinitely as long as fuel is available and are cheaper upfront than batteries for high-capacity backup.
The drawbacks: generators are loud (70-100 decibels), produce carbon monoxide (dangerous indoors), require fuel storage, and need regular maintenance. They also produce dirty power that can damage sensitive electronics.
Generators work well for extended outages where fuel is available. They're practical for households with limited space or budget.
Portable Power Station vs Home Generator: Which Fits Your Needs
A portable power station is a battery-inverter combination, typically 500-5,000 watt-hours of capacity. A home generator produces power from fuel.
A portable power station is best for outages lasting 4-12 hours, limited space, silent backup power needs, and sensitive electronics. A home generator is best for extended outages (24+ hours), outdoor space availability, reliable fuel access, and budgets under $2,000.
The hybrid approach combines both: a portable power station handles the first 8-12 hours silently, and a generator takes over for longer outages.
Essential Components for Your Home Emergency Power Backup
Every home emergency power backup system needs the same core components: a power source, storage, conversion, control, and safety devices.
Battery Bank and Chemistry Options
Your battery bank stores energy. Two chemistries dominate: lithium iron phosphate (LiFePO4) and lead-acid.
Lithium iron phosphate batteries are lighter, more efficient, and last 10-15 years (peer-reviewed research). They handle deep discharge cycles better and tolerate cold temperatures better than lead-acid. The downside is cost, roughly $200-300 per kilowatt-hour installed.
Lead-acid batteries are cheaper (roughly $100-150 per kilowatt-hour) but heavier, shorter-lived (5-7 years), and require more maintenance. They don't tolerate deep discharge well, repeatedly draining them below 50% cuts their lifespan dramatically. For a home emergency power backup system, you'd use deep-cycle lead-acid batteries, not car batteries.
The depth of discharge (DoD) matters. A lithium battery can safely discharge 80-90% of its capacity. A lead-acid battery should only discharge 50% to maintain lifespan. This means a 10 kilowatt-hour lead-acid bank only gives you 5 kilowatt-hours of usable power. For most households, lithium iron phosphate is the better choice despite higher upfront cost.
Inverter Selection and Sizing
Your inverter converts DC power from the battery into AC power your appliances use. A pure sine wave inverter produces clean power that matches grid quality and is safe for all electronics. A modified sine wave inverter is cheaper but produces rougher power that can damage sensitive electronics over time.
Size your inverter to handle peak power demand. If your three largest devices draw 2,000 watts combined at startup, your inverter must be rated for at least 2,500 watts (adding 25% headroom). An undersized inverter will shut down the moment demand exceeds its rating.
An inverter-charger combines an inverter with a charger that recharges your batteries when the grid is available or when a generator is running.
Charge Controller and Wiring
If your system includes solar panels or a generator, a charge controller regulates power flowing into the battery. MPPT (maximum power point tracking) controllers are more efficient than PWM (pulse width modulation) controllers, but also more expensive.
Wiring size matters. Undersized wiring creates voltage drop, losing power as heat in the cables. For a home emergency power backup system, use thicker cable than you think you need. A 200-amp DC connection from battery to inverter should use 2/0 or 4/0 gauge cable depending on distance.
All connections should be fused or have a circuit breaker. A short circuit in a high-amperage DC system can cause a fire.
Emergency Power System Safety Standards and Electrical Codes
A home emergency power backup system must comply with the National Electrical Code (NEC). Key requirements include proper grounding, overcurrent protection, and disconnection means.
Grounding connects your system to earth ground, providing a path for fault current to safely dissipate. Every component, battery bank, inverter, generator, must be grounded. This is typically done with a grounding rod driven into the earth, connected to the negative terminal of your DC system and the neutral of your AC system.
Overcurrent protection means circuit breakers or fuses sized appropriately for the wire gauge. A 200-amp breaker protecting 10 gauge wire will allow the wire to overheat and catch fire before the breaker trips. The breaker must be sized to protect the wire, not the load.
A transfer switch safely disconnects your home from the grid when backup power is active, preventing backfeed (sending power back into utility lines where it could electrocute a lineman). A manual transfer switch requires you to flip it manually; an automatic transfer switch detects power loss and switches automatically.
According to the National Electrical Code requirements for backup power systems, all interconnected power sources must have proper labeling, disconnection, and grounding. If you're unsure about any aspect of the installation, hire a licensed electrician.
Installation Steps and Wiring Your System
Installing a home emergency power backup system requires careful planning and attention to safety. If you're not experienced with electrical work, hire a licensed electrician.
Mounting and Securing Components
Choose a location for your battery bank that's cool, dry, and accessible. Basements are common; some people use garages or outdoor enclosures. Avoid direct sunlight and extreme temperatures. Lithium batteries perform better in the 50-80°F range.
Mount the battery bank securely on a shelf or stand rated for the weight. A 10 kilowatt-hour lithium bank weighs 300-400 pounds. Mount the inverter near the battery bank to minimize cable runs. Long DC cables create voltage drop and inefficiency. Mount the charge controller near the batteries as well.
Wiring, Grounding, and Circuit Protection
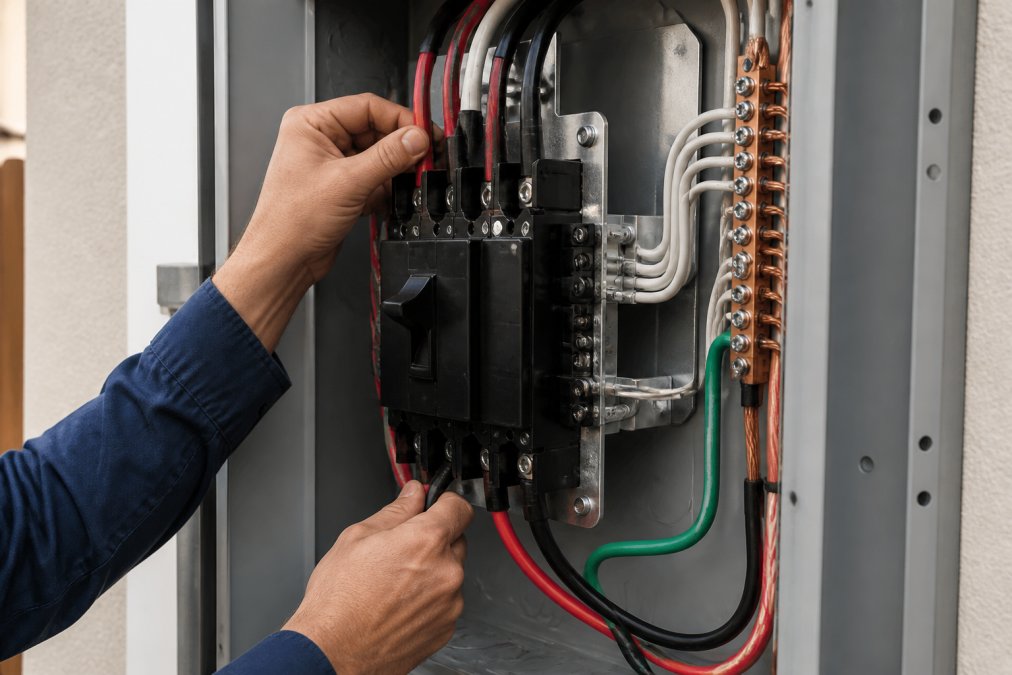
Run heavy-gauge DC cable from the battery positive terminal to a DC breaker, then to the inverter positive input. Run a separate cable from the battery negative terminal to the inverter negative input. Use an online wire gauge calculator based on amperage and distance, then go up one size for safety margin.
Install a DC breaker between the battery and inverter. This breaker should be rated for the maximum current your system can produce. For a 5 kilowatt-hour lithium bank, this is typically 100-200 amps.
Ground the system by connecting the negative terminal to a grounding rod (typically 8 feet of copper rod driven into earth). Also ground the inverter's AC neutral to the same ground rod. Wire the inverter output to your transfer switch, then to your home's electrical panel. Label the transfer switch clearly.
Testing and Commissioning
Before relying on your system, test it thoroughly. Turn off the main breaker to your home's electrical panel, then flip the transfer switch to backup power. All your essential circuits should stay powered.
Test the peak power handling by turning on your largest loads simultaneously. The inverter should handle it without shutting down. If you have solar panels or a generator, verify that the charge controller properly charges the batteries.
Keep detailed records of your system: component specifications, wiring diagrams, breaker ratings, and test results.
Maintenance and Long-Term System Care
A home emergency power backup system requires minimal maintenance, but the maintenance that's needed is critical.
For lithium iron phosphate batteries, check connections annually and ensure the battery management system is functioning. For lead-acid batteries, check water levels monthly (if they're not sealed) and ensure terminals are clean and corrosion-free.
Test your entire system annually. Turn off the main breaker, switch to backup power, and verify that all essential circuits stay powered for at least 30 minutes.
If you have a generator, run it monthly under load for 15-20 minutes. Store fuel with a stabilizer to prevent varnish buildup. Check all wiring for signs of corrosion or damage and tighten any loose connections. Keep your system documentation updated.
Building a home emergency power backup system puts your family's safety and comfort in your hands rather than hoping the grid stays up. The process requires careful assessment of your needs, selection of appropriate components, and meticulous installation following electrical codes. SHTF Prepper Club provides expert guidance and vetted equipment to simplify this process, from assessing your power requirements to selecting batteries, inverters, and safety components that work together reliably. Start with your load calculation, choose components matched to your actual needs, and test thoroughly before you need the system. A well-built backup system gives you peace of mind that your household will stay powered when it matters most.
Frequently Asked Questions
Q: How long will a home emergency power backup system run during an outage?
A: Runtime depends on your battery capacity (measured in kilowatt-hours or watt-hours) and your electrical load. A 10 kWh battery powering essential circuits drawing 2 kW will run roughly 5 hours. Deep cycle batteries rated for 80% depth of discharge provide usable capacity; lithium iron phosphate batteries offer longer lifespans and higher discharge rates. Calculate your specific load and battery size to determine your backup window.
Q: What's the difference between a portable power station and a home generator for emergency backup?
A: Portable power stations store energy in batteries (silent, no fuel, indoor-safe) and suit short outages or essential circuits. Home generators burn fuel (loud, requires ventilation, needs refueling) but provide unlimited runtime. For whole-home backup during extended outages, a generator plus battery bank offers flexibility. For apartment dwellers or those needing quiet, portable stations work well. Choose based on runtime needs, noise tolerance, and fuel availability in your area.
Q: Do I need a permit to install a home emergency power backup system?
A: Yes. Most jurisdictions require electrical permits for grid-tie systems and battery installations. The National Electrical Code (NEC) governs safety requirements, and your local authority having jurisdiction (AHJ) enforces specific rules. Permitted installations ensure proper grounding, circuit protection, and transfer switch compliance. Unpermitted work may void insurance claims or create liability. Contact your local building department before starting installation.
Q: How do I calculate how much power my home actually needs during an outage?
A: List essential appliances and their wattage ratings (found on nameplates or manuals). Multiply wattage by hours of daily use to get watt-hours. For example, a 500W refrigerator running 8 hours daily equals 4,000 watt-hours. Add continuous power (peak load when multiple devices run simultaneously) and account for inverter efficiency losses (typically 10-15%). Most homes need 5-15 kWh daily for essential circuits; calculate your specific load to right-size your battery bank.
This article was written using GrandRanker