
Last Updated: October 26, 2026
Quick Summary
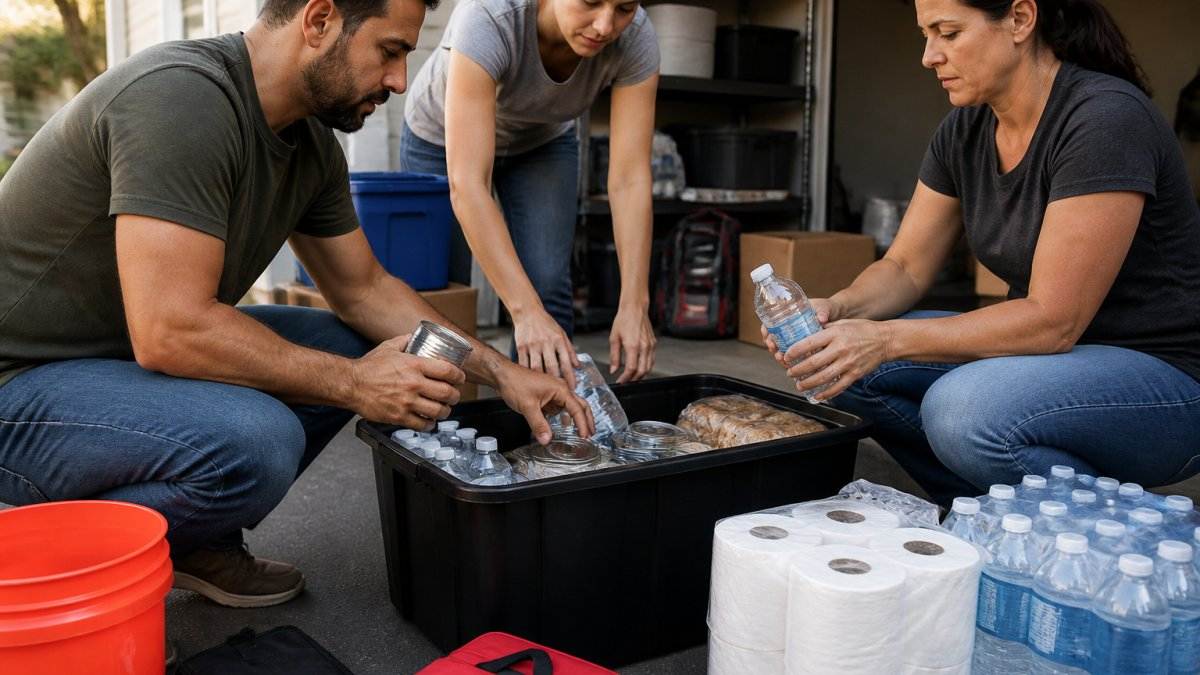
Setting up a neighborhood emergency cache starts by defining its purpose, then building a written neighborhood plan, a supply checklist with quantities per person, and secure accessible locations. Store water at one gallon per person per day, log expiration dates, and set governance and distribution rules. Schedule monthly checks, quarterly counts, and twice-yearly drills to keep the cache current.
- Agree whether the cache covers the first 72 hours or supports the neighborhood for two weeks.
- Store one gallon of water per person per day, with a 3-day minimum and 14 days preferred.
- Keep a physical key with two designated people and a backup code with a third.
- Split critical supplies between a primary site and a backup at least a block away.
- Run a full inventory count and water rotation quarterly, plus neighborhood drills twice a year.
Table of Contents
- Step 1: Map Local Hazards and Agree on What the Cache Is For
- Step 2: Build a Neighborhood Emergency Preparedness Plan Around the Cache
- Step 3: Use an Emergency Supply Cache Checklist to Set Quantities
- Step 4: Choose Secure, Accessible Cache Locations
- Step 5: Plan Community Emergency Supplies and Emergency Water Storage for Communities
- Step 6: Set Governance, Ownership, and Distribution Rules
- Step 7: Schedule Replenishment, Drills, and Inclusive Distribution
- Stock Your Household Cache With Vetted Gear
- Frequently Asked Questions
Step 1: Map Local Hazards and Agree on What the Cache Is For
Setting up a neighborhood emergency cache starts with one question: what are you preparing for? A cache built for a week-long power outage looks nothing like one built for a wildfire evacuation.
Start with a simple hazard list for your block:
- Weather risks: tornadoes, hurricanes, blizzards, flooding, extreme heat
- Utility failures: power outages, water main breaks, boil-water notices
- Local infrastructure: substations, pipelines, highways, rail lines nearby
Then agree on the cache's job: cover the first 72 hours until help arrives, or support the neighborhood for two weeks if stores stay shut? Write that purpose in one sentence, and test every supply decision against it.
The FEMA guidance on building a kit is a solid starting reference for household-level planning. A neighborhood cache scales those same principles up.
Step 2: Build a Neighborhood Emergency Preparedness Plan Around the Cache
A neighborhood emergency preparedness plan is the written agreement on who does what, where to meet, and how the cache gets used.
Keep the plan short enough that people will actually read it. Two pages works. It should cover:
- Emergency contacts: a phone tree with two out-of-area contacts, since local lines often fail first
- Meeting places: one spot on your block and one outside the neighborhood
- Evacuation routes: two ways out of the area, mapped and driven once
For groups that want a deeper structure, this guide on creating a neighborhood emergency response plan walks through the wider coordination piece the cache supports.
Run the plan past every household. Renters, older adults, and night-shift workers have different constraints, and their input now prevents confusion later.
Step 3: Use an Emergency Supply Cache Checklist to Set Quantities
An emergency supply cache checklist turns good intentions into a shopping list. Build it by category, then multiply by the number of people the cache serves, not households, but people, including guests, renters, and night-shift workers.
Start with a headcount worksheet: every household on the block, its number of people, and any special needs (infants, older adults, people with disabilities, pets, refrigerated medication). Add a 10 percent buffer for visitors and non-signups.
Here is a checklist structure:
- Drinking water: one gallon per person per day
- Shelf-stable food: three days minimum, two weeks preferred
- First aid supplies: bandages, antiseptics, gloves, trauma dressings
How Much to Stock Per Household
Quantities should match realistic use, not worst-case fantasy. A common mistake is overbuying food nobody will eat and underbuying water, which you cannot improvise. Adjust the table below to your hazard list and the cache's purpose.
| Category | Per Person | Notes |
|---|---|---|
| Water | 1 gallon per day | 3-day minimum, 14 days preferred; add 1 gallon per pet per day |
| Food | 2,000 calories per day | Pick shelf-stable items your group will eat; include no-cook options |
| First aid | 1 kit per 10 people | Add trauma supplies for larger caches |
| Light | 1 flashlight per person | Plus spare batteries; headlamps free up hands |
| Medication | 7-day supply | Rotate before expiration; note refrigeration needs |
| Sanitation | 1 bucket toilet per 20 people | Plus liners, wipes, and hand sanitizer |
Store only food your neighbors will actually eat; unfamiliar meals get ignored in a real crisis. Buy in bulk where it lowers cost, but repackage into household-sized portions so no family opens a 25-pound bag it cannot reseal.
Track Expiration Dates and Restock on a Schedule
A cache without a date log quietly expires. Label every item with purchase and expiration dates, and keep a shared inventory sheet (paper and digital) with columns for item, quantity, date added, expiration, and who checked it last.
Use first-in, first-out rotation: new supplies go behind older stock, and the oldest items are used first during drills or routine household use, then replaced. It keeps the cache from becoming a museum of expired cans.
A workable restock rhythm:
- Monthly: scan labels for items expiring within 60 days and pull them for household use or replacement
- Quarterly: full count against the inventory sheet, rotate water, and replace batteries that test weak
- Annually: review the headcount worksheet, update the planning number, and replace any gear that failed a drill
Set a Realistic Budget and Contribution Split
Costs are easier to agree on before anyone shops. Price the full list at local retail, divide by participating households, and decide whether contributions are cash, supplies, or labor, commonly a one-time buy-in plus a small annual restock contribution.
If the full list is out of reach this year, phase it: water, first aid, and light first because they are hardest to improvise; food and sanitation next; comfort items and backup power last.
Step 4: Choose Secure, Accessible Cache Locations
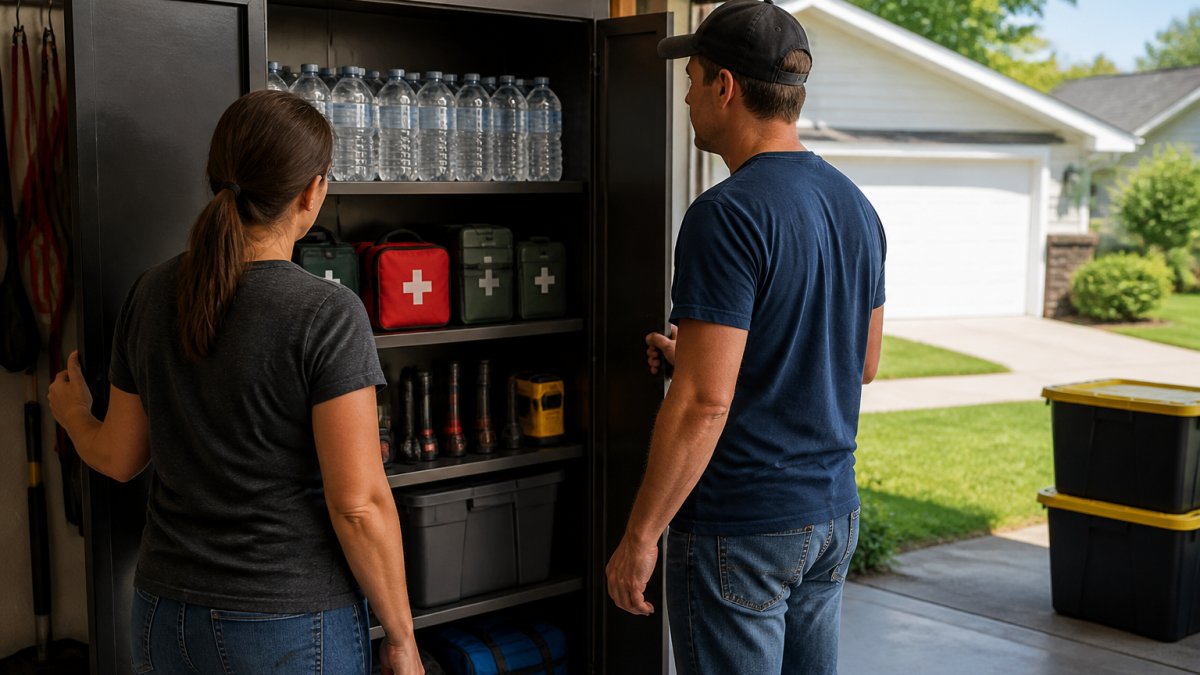
The best cache location balances two needs: locked against theft, reachable when the power is out. "Put it in a garage" fails the moment the door will not open or the shed floods. Treat location as a system: a primary site, a backup site, and a written access plan.
Evaluate Candidate Locations Against Five Tests
Run every candidate site through these tests before you commit:
- Access without power: can you open it with a key or manual release when the electricity is out? Test the manual release on any electric garage door this week.
- Weather exposure: does it flood, freeze, or bake in summer heat? Water and medication degrade fast in a hot shed, and paper documents fail in damp basements.
- Theft and tamper risk: is it visible from the street? Is it behind at least one locked barrier? A locked cabinet inside a locked garage is better than a padlocked bin on a driveway.
Good options include:
- A locked, elevated cabinet in a garage or shed, with a manual override on any powered door
- A climate-controlled closet in a trusted neighbor's home, with a written access agreement
- A shared storage unit within walking distance of the block, with two keys and a backup code held by a third person
Keep a physical key with two designated people and a backup code with a third. Do not store the key inside the cache itself.
Plan a Backup Location and a Split Inventory
No single site survives every hazard: a garage cache is useless if the garage is damaged, a shared unit if roads close. Identify a secondary site at least a block away and split critical supplies, water and first aid at the primary, a smaller grab-and-go kit at the backup.
Document both locations on the neighborhood plan, including walking routes and who holds access. If the primary site is compromised, the plan should name who calls the switch to backup and how neighbors are notified.
Run Tamper Checks and Safe-Storage Rules
A locked cache still needs inspection. Add a monthly tamper check for broken seals, forced locks, pest damage, water intrusion, and shifted contents, and note it on the inventory sheet.
Safe storage matters as much as security:
- Water: store in food-grade containers out of sunlight; label every container with its fill date.
- Fuel: keep gasoline and propane outside the living space, in approved containers, away from ignition sources. Never store fuel inside the cache cabinet with food or water.
- Hazardous materials: exclude bleach, ammonia, and other chemicals from the food and medication area; store them separately and in original labeled containers.
Document Opening and Closing the Cache
Log every non-drill opening: date, who opened it, what was removed, and why. Two people should be present for any non-emergency access; during an emergency, log what you can and reconcile afterward. This habit prevents most disputes and keeps the next count honest.
Step 5: Plan Community Emergency Supplies and Emergency Water Storage for Communities
Community emergency supplies should cover shared needs households cannot handle alone: bulk water, sanitation, shelter materials, and backup power. Water is the hardest piece to get right.
Emergency Water Storage for Communities: Containers, Rotation, and Access
Emergency water storage for communities means storing enough treated water for everyone the cache serves, in containers that can be moved and rotated before they go stale.
Plan for three tiers:
- Portable: stackable jugs and cases of sealed bottled water for immediate grab-and-go use
- Bulk: food-grade drums for washing and sanitation, kept out of sunlight
- Treatment: filters and purification tablets to make new water safe if stored supplies run low
Rotate stored water on a schedule and label every container with its fill date. For container selection, this guide to emergency water storage containers covers materials and sizing in detail. Groups planning long-term storage should also review best practices for safe long-term water storage before filling a single drum.
Step 6: Set Governance, Ownership, and Distribution Rules
Governance decides whether the cache survives its first year, so write down who owns what before an emergency, not during one.
Cover these points in a short charter:
- Ownership: does the cache belong to one household, or to a formal group with shared costs?
- Contributions: what each household gives, in money or supplies
- Decision authority: who can open the cache and under what conditions
Keep a shared inventory sheet, physical or digital, with a copy off-site, and have two people count supplies together at every check. That rule prevents most disputes.
Step 7: Schedule Replenishment, Drills, and Inclusive Distribution
A cache is a perishable asset: food expires, batteries leak, water goes stale. Put a schedule on the calendar and treat it like any recurring appointment.
A workable rhythm:
- Monthly: quick visual check of locks, labels, and battery dates
- Quarterly: full inventory count and water rotation
- Twice a year: neighborhood drill covering the meeting place and cache access
For food rotation, this guide on how to rotate emergency food supplies gives a first-in, first-out method that keeps stock fresh.
Make distribution inclusive. Survey every household for children, older adults, people with disabilities, and pets, note who needs medication refrigeration, mobility support, or extra water, and assign a neighbor to check on each during a drill.
Stock Your Household Cache With Vetted Gear
Building a neighborhood cache is a coordination problem; stocking your household is a shopping one. Both need gear that works when the power is out and the stores are closed.
We offer food, water, power, and safety gear. You can stock your household cache with vetted gear alongside the neighborhood one. Our long-term food storage is built to last up to 25 years, and our kits need minimal preparation when the moment comes.
Get started with SHTF Prepper Club.
Frequently Asked Questions
What should go in a neighborhood emergency cache?
A neighborhood emergency cache should cover the basics a block would need in the first 72 hours: drinking water, shelf-stable food, first aid supplies, flashlights and batteries, a battery-powered radio, medications, and copies of important documents. Add tools like a pry bar, fire extinguisher, and sanitation supplies. Build your list from an emergency supply cache checklist so nothing gets missed, then adjust quantities based on how many households and vulnerable neighbors you are covering.
Where should a neighborhood emergency cache be stored?
Store the cache somewhere dry, secure, and reachable without a car, such as a locked garage, shed, or shared storage room that at least two trusted neighbors can access. Avoid basements prone to flooding and attics that overheat, since heat and moisture ruin food and medications. Keep the location out of plain sight, tell only the designated keyholders, and make sure the spot stays accessible if roads are blocked or power is out.
How often should emergency cache supplies be checked?
Check the cache every six months and log what you find. Rotate food and water before expiration dates, test flashlights and radios, and replace medications and batteries as needed. A simple shared spreadsheet with dates and quantities keeps the whole neighborhood accountable. Pair each check with a short drill so neighbors remember where the cache is and how distribution works before an actual power outage or storm hits.
What is the difference between a household emergency kit and a community cache?
A household emergency kit covers one family for at least 72 hours and stays in your home. A neighborhood emergency cache is a shared stockpile that fills gaps when several households are affected at once, such as a prolonged power outage or blocked roads. The community cache supplements, rather than replaces, each home's kit. Keep both: personal supplies for immediate use, and a shared cache for backup water, food, and tools neighbors can draw on together.
