
Table of Contents
- Why Your Street Needs Its Own Emergency Plan
- Start With a Community Disaster Preparedness Checklist
- Step 1: Map Hazards and Household Resources
- Step 2: Build an Emergency Communication Plan Template
- Step 3: Assign Roles and Set Up Neighborhood Emergency Response Team Training
- Step 4: Plan for Vulnerable Neighbors and Digital Backup
- Step 5: Meet, Practice, and Update Your Neighborhood Emergency Response Plan
- Conclusion: Start Small, But Start This Week
- Frequently Asked Questions
Last Updated: September 9, 2026
Why Your Street Needs Its Own Emergency Plan
Official disaster response is designed to handle large-scale events, not individual streets. When a hurricane knocks out power for a week or a wildfire forces a sudden evacuation, the gap between when a crisis hits and when help arrives is often filled by neighbors. A neighborhood emergency response plan is the difference between a street of isolated households and a coordinated group that can check on each other, share resources, and act quickly.
Most families stop at stocking their own pantry and calling it done. That approach leaves critical gaps: the elderly couple three doors down who cannot hear alerts, the family whose only car is blocked by a fallen tree, or the block where no one knows who has medical training. SHTF Prepper Club simplifies family emergency preparedness by providing expert guidance, and a common oversight is ignoring the community layer of preparedness. This guide walks you through building a plan that turns your street into a functional response unit.
Below, we will cover a practical checklist, five concrete steps to build your plan, and the specific roles, templates, and training that make it work. A neighborhood emergency response plan is a living document that requires buy-in, practice, and regular updates, but the effort pays off the first time it matters.
Start With a Community Disaster Preparedness Checklist
A community disaster preparedness checklist keeps your planning organized and prevents you from skipping the unglamorous tasks that save lives. Before you call a single meeting, gather the baseline information your neighborhood needs to function during a crisis.
Work through these items with a small steering group of two or three motivated neighbors:
- Confirm which households have people with medical conditions, mobility limitations, or disabilities
- Identify available skills, such as first aid training, CPR certification, or professional trades
- Locate utility shut-off points for gas, water, and electricity on each property
- Inventory tools and supplies neighbors already own, like generators, chainsaws, and coolers
- Map the safest evacuation routes and identify shelter-in-place options for each block
This checklist feeds directly into the hazard assessment and resource mapping you will do in the next step. The goal is not to create bureaucracy; it is to build a shared picture of what your street has and what it lacks. Many neighborhoods find that the answers surprise them, revealing hidden resources they never knew existed among their own residents.
Step 1: Map Hazards and Household Resources
Start by identifying what actually threatens your area. Conduct a simple hazard assessment by reviewing your region's risk profile through FEMA's hazard mapping resources and local emergency management offices. Common hazards include flooding, wildfires, earthquakes, severe winter storms, and extended power outages. Rank these by likelihood for your specific location, then consider how each one would affect your street differently.
Resource mapping is the second half of this step. Create a simple spreadsheet or paper chart listing each household, its contact information, and what it can contribute. Record skills like medical training, ham radio operation, or heavy equipment experience. Note physical assets such as backup generators, water storage, or a supply cache of non-perishable food. This inventory becomes your neighborhood's shared capability statement.
A common mistake is stopping at the map. The real value comes from identifying gaps, such as a block with no one trained in first aid or a street where only one household owns a generator. Once you see those gaps, you can recruit residents to fill them through training or coordinate with local emergency management to request additional resources.
Step 2: Build an Emergency Communication Plan Template
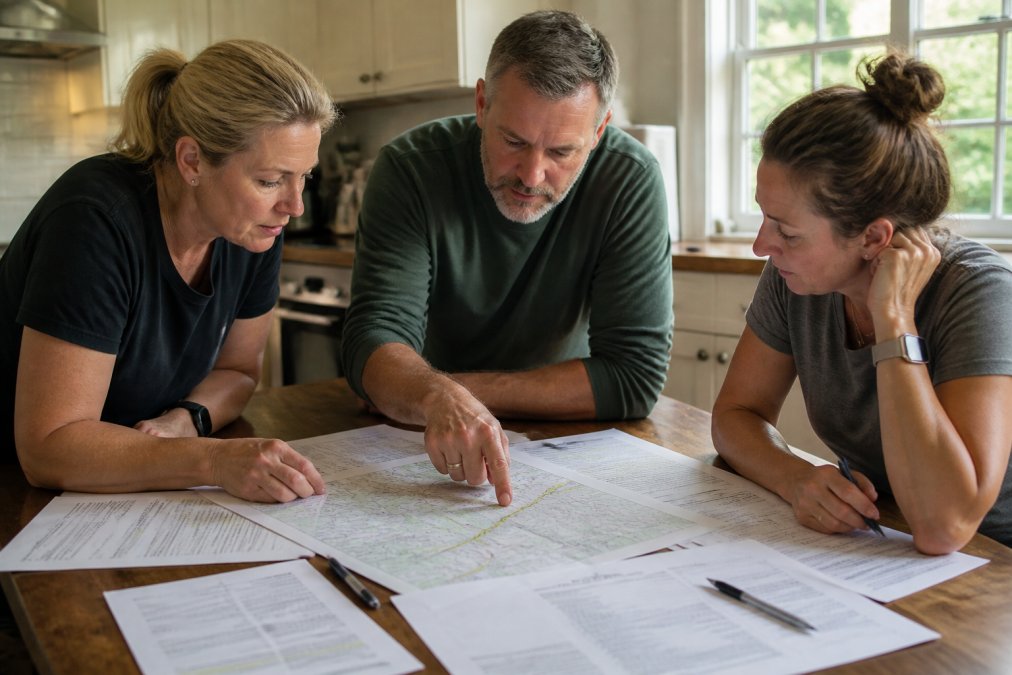
An emergency communication plan template solves the chaos of a crisis by defining who talks to whom and through what channel. Cell networks frequently fail during disasters, so your plan must include multiple redundant methods.
Designate one household as the communication hub and establish a phone tree that does not rely on a single point of failure. Include these elements in your template:
- An emergency contact list with out-of-area contacts, since local lines may be jammed
- A primary channel, such as a neighborhood group text or radio frequency
- A backup channel, like walkie-talkies or a physical bulletin board at a central location
- A check-in schedule, such as every morning at 8:00 AM until the crisis passes
- Procedures for relaying messages to households without working phones
Your template should also specify how you will receive official emergency alerts. Register for local alert systems and designate one person to monitor and broadcast warnings to the group. This role prevents twenty people from independently refreshing their phones and spreading conflicting information.
Step 3: Assign Roles and Set Up Neighborhood Emergency Response Team Training
Clear roles prevent the duplication of effort and the dangerous gaps that emerge when everyone tries to do everything. Assign responsibilities based on the skill inventory you created in Step 1, and make sure each role has a backup person.
Typical roles include a block captain who coordinates with official responders, a communications officer who runs the phone tree, a first aid lead, a utility specialist who knows how to shut off gas and water safely, and a wellness checker who accounts for vulnerable neighbors. Document these assignments in your plan and share them with every household.
Neighborhood emergency response team training turns those assignments into real capability. The gold standard is formal training through the Community Emergency Response Team program, which teaches basic disaster response skills including fire safety, light search and rescue, and disaster medical operations. Even if formal training is not available in your area, organize practical sessions where neighbors practice using fire extinguishers, applying tourniquets, and conducting a room-by-room search.
Step 4: Plan for Vulnerable Neighbors and Digital Backup
The households that need the most help are often the quietest during a crisis. Build inclusivity into your plan by identifying neighbors who may need assistance, including elderly residents, people with disabilities, families with infants, and those who do not speak English fluently. Assign a specific neighbor to each vulnerable household and document their needs, such as medical equipment requiring power or medications that must stay refrigerated.
A Practical Framework for Vulnerable Households
A simple, effective method is to create a vulnerable household register as part of your plan. For each household, list:
- Primary needs: Mobility limitations, hearing or vision impairment, cognitive conditions, or reliance on electricity-dependent medical devices (e.g., oxygen concentrators, CPAP machines, power wheelchairs).
- Medication and supplies: A list of critical medications, the prescribing doctor's contact, and where the medication is stored. Note which medications require refrigeration.
- Communication method: How the person prefers to receive information (e.g., text, phone call, in-person knock, or a visual signal like a flag in the window).
- Evacuation assistance: Whether the person needs physical help to leave their home, has access to a vehicle, or requires a specific type of transport.
- Backup power needs: For medical devices, identify the wattage requirement and how long the device can run on battery. This helps you match a neighbor's generator to the need.
For neighbors who do not speak English fluently, prepare a one-page translated summary of your neighborhood plan. The most common languages in the United States after English are Spanish, Chinese, Tagalog, Vietnamese, and Arabic, but your specific neighborhood will vary. Ask a bilingual neighbor to help translate, and include a simple visual guide with icons for evacuation routes, meeting points, and emergency contacts.
Digital Security and Data Backup: The Missing Layer
Digital security and data backup are the gap that almost no neighborhood plan addresses. In a disaster, you may lose access to your home, your phone, or your documents. Store digital copies of insurance policies, medical records, and your neighborhood plan itself in a secure cloud service and on an encrypted USB drive kept in a go-bag. Agree as a group on a backup communication method that does not depend on the internet, since cyber incidents can disable the same networks a storm would.
Here is a concrete, actionable protocol for the digital layer of your plan:
- Create a shared, encrypted document vault. Use a service like Bitwarden or 1Password to share critical documents securely, or a simple encrypted folder on a cloud service like Sync.com or Tresorit. Do not use standard email or unencrypted cloud storage for sensitive personal information like medical records.
- Designate a digital coordinator. This person is responsible for maintaining the digital vault, updating contact lists, and ensuring that every household has a copy of the plan on their personal devices.
- Establish a physical backup. Store an encrypted USB drive with the same documents in a waterproof, fireproof container at a designated household. Rotate this drive between two households every six months to ensure it is current.
- Plan for a cyber incident. If the disaster is a cyberattack or a data breach, your neighborhood's communication plan must assume that all internet-connected services are compromised. Your backup channel should be a mesh network or a simple radio system that does not rely on the internet. For example, the GoTenna Mesh or the Beartooth device allows smartphones to communicate over a long-range radio frequency without cell service, but these require pre-pairing and practice.
- Protect personal devices. Encourage neighbors to enable full-disk encryption on their laptops and phones, use strong, unique passwords stored in a password manager, and enable two-factor authentication on all critical accounts. This prevents a situation where a lost phone during an evacuation becomes a data breach.
Post-Disaster Psychological Support: A Role That Matters
Post-disaster psychological support is equally important and frequently ignored. Designate a neighbor to serve as a wellness contact who checks on residents' mental state, not just their physical safety, in the weeks after an event. The stress of a disaster does not end when the immediate danger passes, and a neighborhood that looks after its emotional health recovers faster.
A practical approach is to train two or three neighbors in Psychological First Aid (PFA) . PFA is an evidence-informed approach to help people in the immediate aftermath of a disaster. It is not therapy; it is a set of practical steps to reduce initial distress and support short-term and long-term adaptive functioning. Free online training is available through the American Red Cross and the National Child Traumatic Stress Network.
The wellness contact's role is to:
- Check in with each household 48 hours after the event and then weekly for the first month.
- Listen for signs of acute stress, such as difficulty sleeping, irritability, or withdrawal.
- Connect neighbors to local mental health resources, such as the Disaster Distress Helpline (1-800-985-5990), which operates 24/7 and is free.
- Organize a simple community meal or gathering to reduce isolation and promote social connection.
Step 5: Meet, Practice, and Update Your Neighborhood Emergency Response Plan
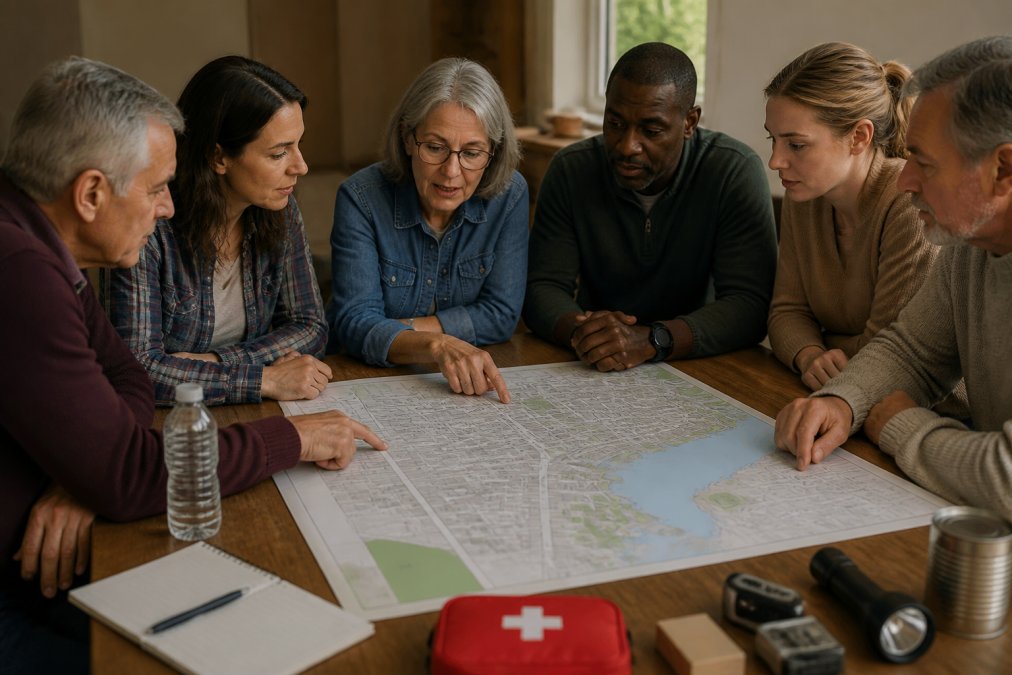
A plan that sits in a drawer is worthless. Schedule an initial neighborhood meeting to review the draft plan, then commit to practicing it at least twice a year. Use these gatherings to walk the evacuation routes, test the communication tree, and confirm that contact information is current.
Treat each drill as a learning exercise, not a pass-fail test. Afterward, ask three questions: what worked, what broke, and what confused people. The answers will drive your updates. Update the plan whenever a household moves, a new baby arrives, or a neighbor's health status changes, and review it annually against the latest guidance from Ready.gov's community preparedness materials.
A neighborhood emergency response plan is never finished. It improves with every drill, every new neighbor, and every lesson learned from a real event. Schedule your review cycle now and stick to it.
Conclusion: Start Small, But Start This Week
Building a neighborhood emergency response plan does not require a community hall or a grant. It starts with a conversation across the fence and a willingness to organize. This week, talk to two or three neighbors, share this guide, and schedule your first planning meeting. The work you do now determines whether your street becomes a source of mutual aid or a collection of isolated households when the next disaster arrives.
SHTF Prepper Club exists to simplify that preparation. Our expert-vetted food storage, water filtration, power, and safety gear gives your household the foundation it needs while you build the community layer around it. We also provide comprehensive emergency preparedness guides that walk you through the process step by step, so you are never just receiving a box of supplies without a plan. Get started with SHTF Prepper Club and build the readiness your family and your street deserve.
Frequently Asked Questions
What are the 5 elements of an emergency response plan for a neighborhood?
A practical neighborhood emergency response plan includes five core elements: a communication plan with a phone tree and backup alerts, a map of hazards and utility shut-off points, a resource inventory of skills and supplies, assigned roles like first aid or search, and a designated meeting point. You also need a schedule for practicing the plan. This structure mirrors guidance from FEMA's Community Emergency Response Team (CERT) program and keeps the response organized when official help is delayed.
How often should a neighborhood emergency plan be updated?
Review your neighborhood emergency response plan every six months and after any significant change, such as a new family moving in, a tree falling on power lines, or a nearby construction project. At minimum, schedule a yearly meeting to confirm contact information is current, refresh the community disaster preparedness checklist, and verify that supplies like first aid kits are stocked. After any real emergency, hold a debrief to update the plan based on what worked.
What roles are essential in a neighborhood emergency response team?
Essential roles include a coordinator to oversee communication with local emergency management, a communications lead to manage the emergency communication plan template and phone tree, a first aid officer with current training, a search and rescue lead, and a logistics person to track the supply cache and tools. You also need a neighbor assigned to check on vulnerable residents, such as elderly or disabled individuals. Each role should have a backup person trained to step in if the primary is unavailable.
How do you identify vulnerable neighbors during an emergency?
Create a confidential registry during your planning meeting, not during a crisis. Ask residents to volunteer if they have medical conditions, mobility challenges, or live alone. Note who has children, who works from home, and who has specialized equipment like oxygen concentrators. Assign a block captain to each street section to check on these households first. Always store this registry securely and respect privacy by only sharing it with your trained neighborhood emergency response team, not the public.