
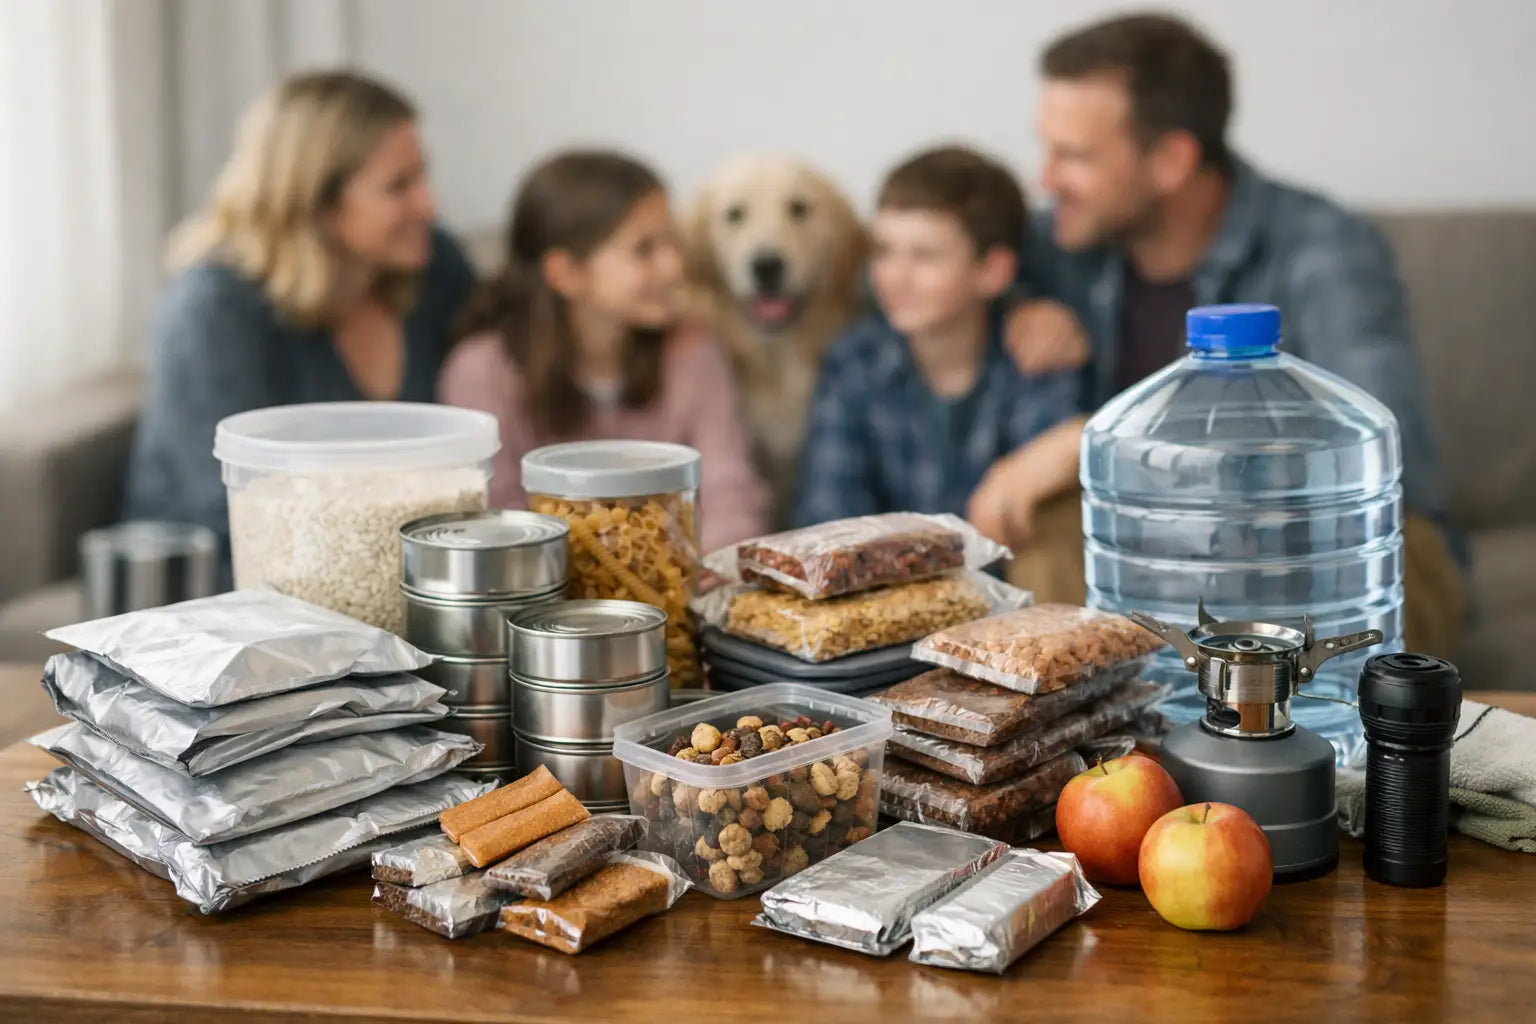
The grocery store shelves can look normal on Tuesday and very different by Thursday. A storm warning, prolonged power outage, wildfire evacuation, or regional shipping delay can change how your family eats with very little notice. Learning how to choose emergency food kits is not about predicting the worst. It is about making sure dinner is still manageable when normal routines are not.
A good kit buys your household time, choices, and a little calm. The right one is not necessarily the largest bucket or the longest advertised shelf life. It is the food your family can safely store, prepare with the water and fuel you have available, and actually eat.
Start With the Emergency You Are Preparing For
Emergency food is not one-size-fits-all. A family riding out a winter outage at home has different needs than a family leaving ahead of a hurricane. Start by deciding whether you are building food for sheltering at home, an evacuation bag, or both.
For most households, a three-day supply is the practical first milestone. It covers the early stage of many disruptions, when roads may be blocked, stores may be closed, and you are focused on your family rather than shopping. From there, build toward two weeks. Longer-term food storage can make sense for rural households, families in storm-prone regions, or anyone who wants a deeper cushion against supply interruptions, but it does not have to happen all at once.
For an evacuation, weight and preparation matter most. Choose compact, ready-to-eat foods such as bars, pouches, nut butter, crackers, dried fruit, and familiar shelf-stable snacks. Freeze-dried meals are excellent for home storage, but they need water. A heavy food bucket is also not the first thing you want to carry to the car if local officials issue an evacuation order.
For sheltering at home, you have more flexibility. Canned meals, freeze-dried foods, pantry staples, and bulk ingredients can all work together. The best home plan is usually a mix, not a single product.
How to Choose Emergency Food Kits by Calories, Not Servings
“Servings” can make a kit look more substantial than it is. One serving may be a side dish, a small snack, or only a portion of what an adult needs for a meal. Look for total calories first, then divide that number by the number of people and days you want the kit to cover.
A general planning target is around 2,000 calories per adult per day. Children, older adults, and people with smaller appetites may need less. Teenagers, active adults, pregnant or nursing parents, and anyone doing physical cleanup after a storm may need more. You do not need to hit a perfect number for your first kit, but you should know what you are getting.
For example, a kit with 12,000 total calories can provide roughly six days of food for one adult at 2,000 calories per day. It is not a “six-day kit” for a family of four. Read the nutrition label, find the total calories per pouch or container, and do the simple math before relying on package language.
Calories are not the only measure of quality. A family can get enough calories and still feel miserable on nothing but sugary snack bars. Look for a useful balance of protein, carbohydrates, fats, and foods with some fiber. Include familiar comfort foods, especially if you have children. A warm bowl of oatmeal, soup, or macaroni and cheese can do more for morale than another emergency ration bar.
Check Water and Cooking Requirements Before You Buy
Food does not work alone. Many emergency meals need clean water, a way to heat it, and a bowl or pot. Before buying a large supply of freeze-dried food, make sure your overall preparedness plan supports it.
Keep drinking water separate from cooking water in your calculations. A common baseline is at least one gallon of water per person per day for drinking and basic sanitation. Preparing freeze-dried meals may require additional water. If you have a water filtration system, stored water containers, and a safe way to boil or heat water outdoors or in a properly ventilated space, freeze-dried meals can be a very efficient choice. Without those pieces, ready-to-eat food deserves a larger role.
Also consider the reality of a power outage. Foods that require a microwave, refrigerator, or a long simmer are less useful when electricity is out. Choose items that can be eaten cold or made with hot water. If you plan to use a camp stove, grill, or other cooking equipment, follow its safety instructions and never use fuel-burning equipment indoors or in a garage.
Match the Food to Your Family's Needs
The most carefully stocked kit is not helpful if someone cannot eat it. Review ingredient labels for allergies and dietary restrictions before you commit to a large supply. This matters for gluten intolerance, diabetes, low-sodium diets, food allergies, and religious or vegetarian preferences.
Children deserve special consideration. Emergency food should not become a fight at every meal. If your child will not eat chili, lentils, or powdered eggs on a normal day, do not assume a crisis will change that. Include foods they already recognize and enjoy. The same applies to older relatives who may need softer foods, lower-sodium options, or simple meals that are easy to prepare.
Do not forget pets. Keep a separate supply of food and water for them, rather than expecting human emergency food to cover their needs. If you have an infant, stock formula and age-appropriate foods. Those items have their own storage dates and should be rotated more frequently.
Choose a Mix of Food Types
There is a reason experienced households use more than one kind of emergency food. Each option has a trade-off.
Freeze-dried meals are lightweight, compact, and often have long storage lives. They are convenient for building a deeper pantry, but they require water and usually taste best when prepared with hot water. Brands such as ReadyWise and Augason Farms offer options ranging from individual meal pouches to larger food storage packages.
Canned goods are familiar, ready to eat, and useful during short disruptions. They are also heavy, take up more room, and need a manual can opener. Pantry staples such as rice, beans, pasta, oats, powdered milk, and baking ingredients can stretch a budget and support long-term food independence, but they generally need more water, fuel, and cooking time.
Ready-to-eat foods fill the gap. Think shelf-stable tuna or chicken, peanut butter, granola, crackers, fruit cups, and meal bars. These are especially valuable for the first 24 to 72 hours, when you may be tired, busy, or unable to cook.
A practical home supply often includes all four. Start with a small ready-to-eat layer, add a few familiar canned meals, then build longer-lasting freeze-dried and pantry food as your budget allows.
Pay Attention to Packaging, Storage Life, and Storage Space
A long shelf life is useful only when food is stored correctly. Keep emergency food in a cool, dry, dark place away from direct sunlight, hot garages, damp basements, and areas that regularly exceed normal indoor temperatures. Heat shortens the useful life of many foods, even when the package looks sealed.
Look for packaging that fits your household. Individual pouches are easy to portion and can travel in an evacuation bag. Larger #10 cans and bulk containers may cost less per meal and work well for a family sheltering at home. Once a large container is opened, however, its contents need to be used within the manufacturer’s recommended timeframe. If you are a household of two, several smaller packages may reduce waste.
Use a simple rotation system. Put newly purchased food behind older food, check dates twice a year, and serve items your family enjoys before they expire. Emergency food should be part of your household inventory, not a forgotten stack in the corner of the garage.
Build a Kit That Fits Your Budget
You do not need a warehouse-sized supply to make meaningful progress. A $200 starter plan that your family understands is more valuable than an ambitious shopping cart that never gets purchased.
Begin with the number of people in your household and a three-day goal. Buy enough ready-to-eat food to cover that period, plus water and a manual can opener. Then add one or two longer-storage meal options each month. This approach lets you learn what fits in your space, what your family likes, and what preparation methods are realistic.
Before checking out, use this short test for any emergency food kit:
- Does it provide enough total calories for my household and timeline?
- Can we make it with the water, fuel, and equipment we have?
- Will the people in our home eat it, including children and those with dietary needs?
- Can we store it in a cool, dry place and rotate it before it expires?
- Does it support our actual risks: sheltering at home, evacuation, or a mix of both?
Start with the next meal your family would need if the power stayed off tonight. Put that food where you can reach it, make sure you can prepare it, and build from there.