
Table of Contents
- Why Simple Emergency Plans Matter for Suburban Homes
- Step 1: Build Your Family Communication Plan Template
- Step 2: Assemble Your 72-Hour Emergency Kit List
- Step 3: Plan Your Emergency Evacuation Plan for Suburban Homes
- Step 4: Establish Shelter-in-Place Procedures
- Step 5: Set Up Emergency Alerts and Digital Planning
- Step 6: Document Vital Records and Protect Your Pets
- Step 7: Test Your Simple Emergency Plans and Stay Ready
Simple Emergency Plans for Suburban Homes: 7-Step Guide
Last Updated: June 27, 2026
Most suburban families assume an emergency plan is something they'll get around to eventually. Then a storm knocks out power, a water main breaks, or a wildfire forces rapid evacuation, and suddenly that "eventually" becomes urgent. Simple emergency plans for suburban homes aren't about becoming a prepper or stockpiling for doomsday scenarios. They're about having the basic systems in place so your household responds calmly instead of scrambling when seconds matter.
At SHTF Prepper Club, we've helped thousands of suburban families build practical, straightforward emergency preparedness systems. The difference between a family that handles a crisis smoothly and one that panics often comes down to one thing: they had a plan. Below, we'll show you exactly how to build yours in seven concrete steps, each one actionable today and designed specifically for suburban living.
Why Simple Emergency Plans Matter for Suburban Homes
Suburban homes sit in a unique risk space. You're not isolated enough to be fully self-sufficient, but you're not dense enough to have the rapid emergency services response of a city. You likely have a car and drivable routes out, but you also have neighbors, shared utilities, and infrastructure dependencies that rural areas don't.
A practical emergency plan for suburban homes acknowledges this reality. Your family needs to know when to shelter in place and when to evacuate, and how to communicate when cell networks are jammed. According to FEMA guidance on household emergency planning, households with a documented plan and practiced communication system are significantly more likely to reunite quickly after a disaster.
Simple emergency plans work because they're simple enough to remember and practice without burnout.
Step 1: Build Your Family Communication Plan Template
The moment a major incident happens, cell networks overload. Your family communication plan needs to account for communication failure, because that's when you need it most.
A family communication plan should include three elements: an out-of-area contact, a list of emergency numbers, and a designated meeting point. Write this on a single sheet, laminate it, and post it on your refrigerator. Everyone in the household should know where it is and have reviewed it in the last month.
Designate an Out-of-Area Contact
During a local disaster, local phone lines jam immediately. But long-distance calls sometimes route through less congested networks. Your out-of-area contact is someone living at least 50 miles away, ideally in a different state, who serves as the family's communication hub.
Here's how it works: if your household gets separated during an emergency, each person calls or texts the out-of-area contact with their status. The contact then relays information to other family members. Pick someone who answers their phone reliably and who will take this responsibility seriously. A relative living in another state works well. Brief them on the plan and test the system once a year by having everyone text the contact with a status update.
Create Your Emergency Contacts List
Your emergency contacts list should include:
- Out-of-area contact (name, phone, email)
- Local emergency services (911)
- Poison control: 1-800-222-1222 (nationwide)
- Your primary care doctor and nearest hospital (with address)
- Pharmacy (with address and phone)
- Utility company emergency lines (electric, gas, water)
- Insurance agent contact information
- Employer emergency contact procedures
- School emergency contact procedures (if applicable)
- Neighbors' contact information
Print this list in 12-point font or larger. Post one copy on your refrigerator and keep copies in your go-bag, your car, and your wallet.
| Element | Purpose | Update Frequency |
|---|---|---|
| Out-of-area contact | Relay information when local networks fail | Annually |
| Emergency services numbers | Know who to call for different situations | Annually |
| Utility company lines | Shut off gas or water if needed | When you move or change providers |
| Doctor/hospital info | Reach medical providers quickly | When you change providers |
Step 2: Assemble Your 72-Hour Emergency Kit List
A 72-hour emergency kit is the baseline for suburban household preparedness. This is the gear your family needs to survive three days without external help, no power, no water delivery, no grocery stores. Most suburban families can assemble this for under $200.
Water, Food, and First Aid Essentials
Store one gallon of water per person per day, minimum. For a family of four, that's 12 gallons for three days. Rotate this water every six months or buy commercially bottled water, which is shelf-stable for years.
For food, focus on items that don't require cooking or refrigeration: canned goods, granola bars, nuts, dried fruit, peanut butter, crackers, and protein bars. Include comfort foods for morale. Include a manual can opener and items that match your family's dietary needs.
A first aid kit should include: adhesive bandages, gauze pads, antibiotic ointment, pain relievers, anti-diarrhea medication, antacid, antihistamine, hydrocortisone cream, elastic bandage, tweezers, scissors, thermometer, and any prescription medications your family members take. Store this in a waterproof container and check it annually.
Budget-Friendly Preparedness Tips
You don't need expensive survival kits. Many items you already own work fine for emergency preparedness. Start by doing an inventory of what you already have, then fill gaps strategically. Buy a few items each week rather than everything at once. Store-brand items work as well as name brands. Dollar stores carry first aid supplies, flashlights, and batteries at lower prices than pharmacies.
One practical approach: every time you buy groceries, pick up one non-perishable item for your emergency kit. In a few months, you'll have a substantial supply without feeling the financial impact.
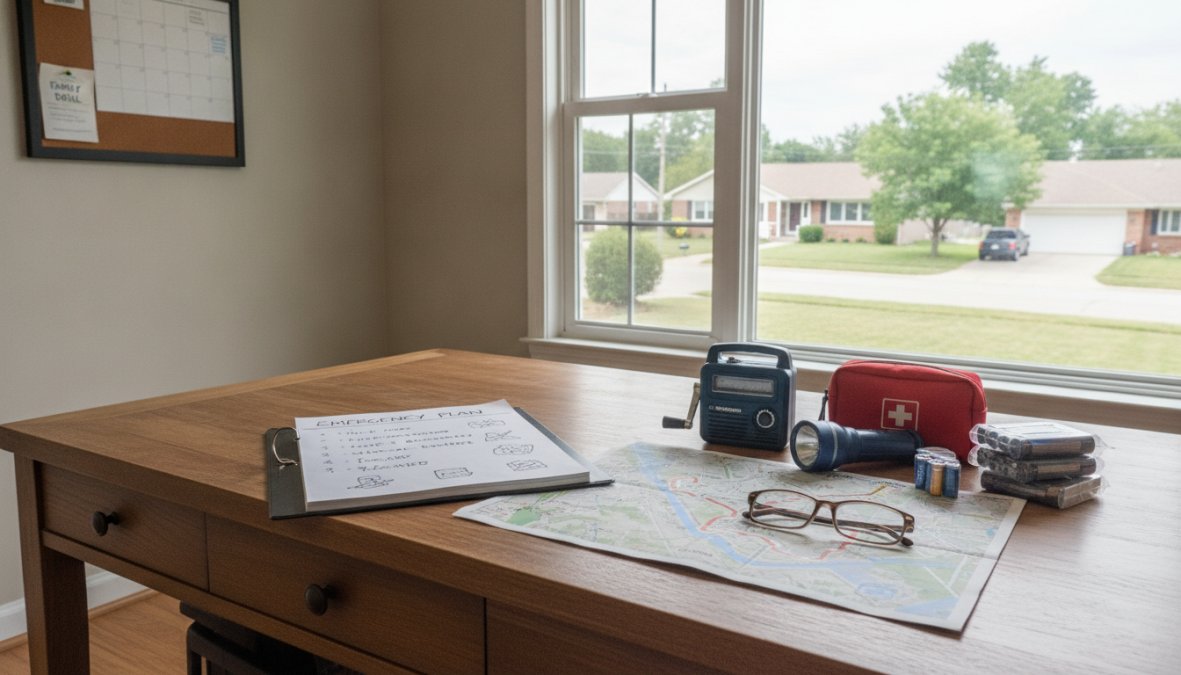
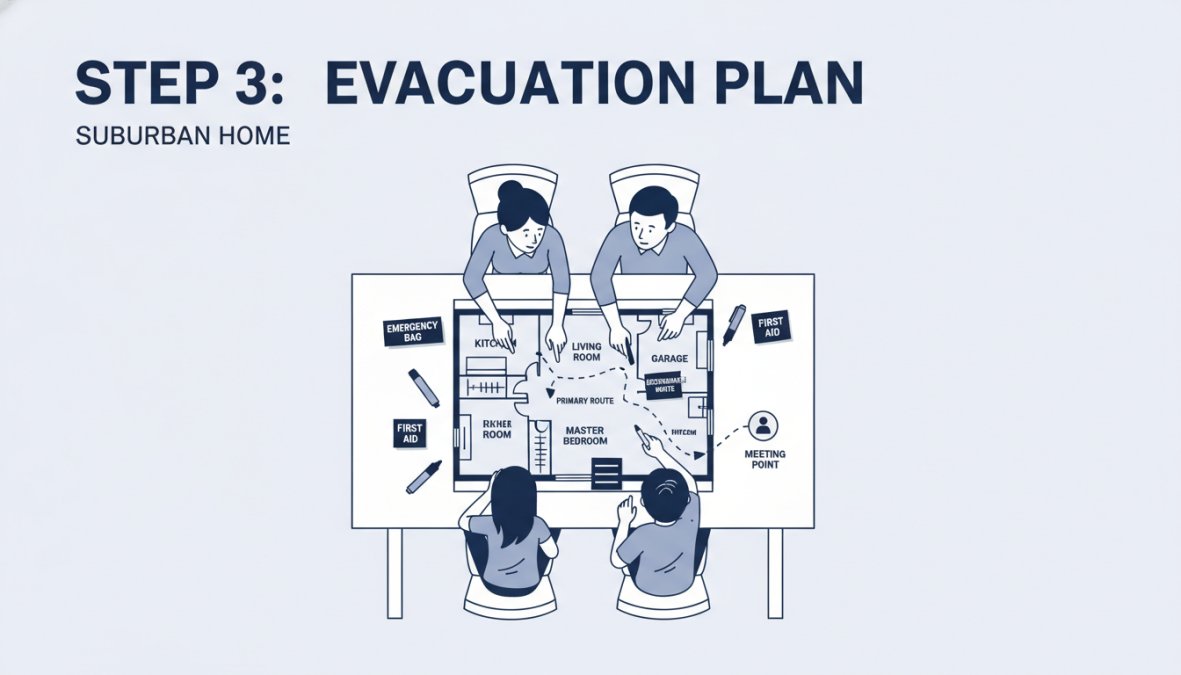
Step 3: Plan Your Emergency Evacuation Plan for Suburban Homes
An emergency evacuation plan for suburban homes needs to account for the specific geography and hazards of your area. Suburban evacuations typically happen in one of two scenarios: rapid evacuation (wildfire, chemical incident, gas leak) where you have minutes to leave, or planned evacuation (hurricane, flooding) where you have hours or a day.
Your evacuation plan should identify multiple routes out of your neighborhood, not just one. Print a map of your neighborhood and surrounding area. Highlight at least two different routes from your home to a safe location outside your immediate area. Drive these routes so you know them.
Identify Evacuation Routes and Meeting Places
For rapid evacuations, identify a meeting place outside your immediate area, ideally outside your suburb entirely. This should be a recognizable landmark: a specific store, a park, a church, or a school building. Make sure every family member knows the address and can find it on a map.
If you have multiple family members with their own cars, designate a primary meeting place and a secondary one. Each person should carry a card with both addresses and a map showing the routes.
Suburban-Specific Hazards to Consider
Research what hazards are near your home. Check your local emergency management agency's website for hazard maps. Is there a chemical plant, refinery, or industrial facility nearby? Are you in a flood zone or wildfire risk area? Understanding your specific hazards helps you decide whether to shelter in place or evacuate.
Step 4: Establish Shelter-in-Place Procedures
Sheltering in place means staying in your home rather than evacuating. This is the right choice for many incidents: air quality issues, temporary power outages, brief water main breaks, or incidents far enough away that evacuation isn't necessary.
Your shelter-in-place procedure should cover short-term (hours to one day) and extended (days to a week) scenarios. Short-term shelter-in-place usually requires staying inside and closing windows. Extended shelter-in-place requires more planning.
Securing Your Home and Safe Room Setup
Designate a safe room where your family can gather, a bedroom, basement, or interior room without windows. Stock your safe room with: water, food, first aid supplies, flashlights, batteries, a battery or hand-crank radio, medications, important documents, and a way to communicate (phone chargers, a backup battery pack).
To seal your home against outside air, keep duct tape and plastic sheeting on hand. Know where your home's main water shutoff is located and how to shut off your gas at the meter.
Step 5: Set Up Emergency Alerts and Digital Planning
Modern emergencies announce themselves through digital channels before they require action. Your family needs to know how to receive emergency alerts and how to check official information without relying on social media rumors.
Emergency alerts come through multiple channels: weather radio, cell phone alerts (Wireless Emergency Alerts), local emergency management social media, and your local news station. Set up at least two alert sources so you're not dependent on one system failing.
Emergency Warnings and Notification Systems
A weather radio with battery backup is your most reliable emergency alert system. It receives National Weather Service alerts automatically and sounds an alarm when warnings are issued. These cost $20-40 and require minimal setup.
Cell phone Wireless Emergency Alerts (WEA) come automatically to most phones for imminent threats: evacuations, hazardous material releases, missing children. Follow your local emergency management agency on social media and subscribe to their email alerts. Bookmark your county or city emergency management website so you can find it quickly.
Digital Emergency Planning Tools
Digital tools can help organize your emergency plan. Cloud-based document storage means your important information is accessible from any device. However, don't let digital tools replace physical backups. Your emergency contacts list should exist on paper. Your evacuation routes should be on a printed map. Physical tools work regardless of power or network failures.
Step 6: Document Vital Records and Protect Your Pets
Vital records are documents you'll need to prove your identity, ownership, or eligibility for assistance after a disaster: birth certificates, marriage licenses, insurance policies, property deeds, medical records, and financial documents.
Create digital copies of all vital records at high resolution (300 dpi) and store them in cloud-based storage (Google Drive, Dropbox, OneDrive). Store originals in a waterproof, fireproof container at home and consider keeping copies in a safe deposit box at your bank.
Organizing Important Documents
Organize your vital records by category: identification, property, financial, medical, and insurance. Create a spreadsheet listing what you have, where it's stored, and when you last updated it. Include account numbers and contact information for banks, insurance companies, and other institutions. Store this spreadsheet in cloud storage too.
Pet Safety During Disasters
Pets are family members, and your emergency plan must include them. Create a pet emergency kit: food for at least two weeks, water, medications, medical records, recent photos, carriers or crates for transport, and identification (microchip, collar tag, photo).
If evacuation is necessary, take your pets with you. Research pet-friendly shelters or hotels in your area in advance. Update your pet's microchip information and ensure their collar has current contact information.
Step 7: Test Your Simple Emergency Plans and Stay Ready
A plan that's never practiced is a plan that will fail under stress. Your family needs to actually walk through your emergency procedures so they become automatic responses.
Run a family emergency drill twice a year. Pick a scenario (power outage, evacuation order, shelter-in-place) and walk through your response. Have everyone gather at the safe room. Check that everyone knows the out-of-area contact number. Practice shutting off utilities. Review evacuation routes.
Running Emergency Drills
Announce the scenario, then have everyone respond as they would in an actual emergency. Time the drill. If evacuation takes 30 minutes in a practice scenario, it might take 45 minutes in actual stress with traffic and confusion.
After each drill, discuss what went smoothly and what was confusing. Update your plan based on what you learn.
Common Mistakes to Avoid
The most common mistake is creating a plan and then never reviewing it. Print your critical information and post it where you'll see it regularly. Review it with your family at least twice a year.
Another mistake is overcomplicating your plan. A one-page family communication plan everyone actually knows is more useful than a 50-page binder. Don't assume family members will remember details you told them once. Write everything down, laminate it, post it, and review it together.
Don't overlook family members with specific needs. If someone in your household is elderly, has mobility issues, or has medical conditions requiring specific care, your emergency plan must address this.
Simple emergency plans for suburban homes work because they're practical and because families actually practice them. Start with your communication plan this week, add your evacuation routes next week, and build your 72-hour kit over the next month. Your family's safety depends not on having perfect gear, but on having a plan everyone understands and supplies you've actually tested.
Frequently Asked Questions
What should be included in a simple emergency plan for suburban homes?
A basic household emergency plan should include: a family communication plan with out-of-area contacts, evacuation routes and meeting places specific to your neighborhood, a 72-hour emergency kit with water, food, and first aid supplies, shelter-in-place procedures, emergency alerts setup, vital records documentation, and pet safety provisions. Test your plan annually with emergency drills to ensure every family member knows their role during a crisis.
How do I create a family communication plan template for emergencies?
Start by listing all family members' phone numbers and designating one out-of-area contact (someone outside your region) whom everyone can reach if local lines are jammed. Write down each person's workplace address and primary route home. Create a printed card each family member carries with emergency contacts and your meeting place. Store digital copies in cloud storage and email backups to family members. Test your family communication plan quarterly by having everyone practice contacting the out-of-area contact.
What are the most common emergencies suburban families should prepare for?
Suburban areas face unique hazards including severe weather (tornadoes, ice storms, flooding in low-lying neighborhoods), utility failures, vehicle accidents, house fires, and medical emergencies. Many suburbs also border wildland-urban interfaces prone to wildfires. Consider your specific location: proximity to highways, water sources, industrial facilities, or flood zones. Tailor your emergency preparedness plan to address these local risks. This targeted approach makes your household emergency plan more practical and effective than generic advice.
How do I assemble a budget-friendly 72-hour emergency kit?
Start with water (1 gallon per person per day for 3 days), canned goods you already eat, and a basic first aid kit from any drugstore. Add items gradually: battery-powered radio, flashlight, extra batteries, medications, important documents copies, and a phone charger. Buy supplies during sales and store them in a clear plastic container. Skip expensive pre-packaged kits, homemade kits cost 40-60% less. Focus on items your family actually uses so supplies stay fresh and you naturally replace them.
This article was written using GrandRanker