
Table of Contents
- Step 1: Build Your Vital Records Inventory
- Step 2: Create Your Emergency Grab-and-Go Binder Checklist
- Step 3: Learn How to Digitize Personal Records for Emergencies
- Step 4: Choose the Best Fireproof Document Bags and Safes
- Step 5: Secure Digital Copies With Encryption and Off-Site Storage
- Step 6: Set Up a Document Maintenance Schedule
- Step 7: Retrieve and Rebuild After a Disaster
- Common Mistakes to Avoid When You Organize Important Documents
- Frequently Asked Questions
Last Updated: September 30, 2026
Step 1: Build Your Vital Records Inventory
Learning how to organize important documents for disasters starts with one question: if you had ten minutes to evacuate, what would you grab? Most families can't answer, and that gap is where real losses happen.
Which Documents Count as Vital Records
Vital records prove who you are, what you own, and what you're owed. Losing them can slow insurance claims, identity recovery, and benefits for months.
- Identity: birth certificate, social security card, passport, driver's license, immigration papers
- Legal: last will and testament, power of attorney, deed of trust, custody agreements
- Financial: insurance policies, tax returns, financial statements, account numbers
- Medical: immunization records, prescriptions, medical records for chronic conditions
How to Create a Document Inventory
A document inventory is a simple list mapping each record to where it lives and how it's protected. A spreadsheet works fine.
Build one row per document with these columns:
| Column | What to Record |
|---|---|
| Document name | Birth certificate, deed of trust, etc. |
| Location | Home safe, bank box, cloud folder |
| Format | Paper, scan, or both |
| Who else has a copy | Spouse, attorney, executor |
Step 2: Create Your Emergency Grab-and-Go Binder Checklist
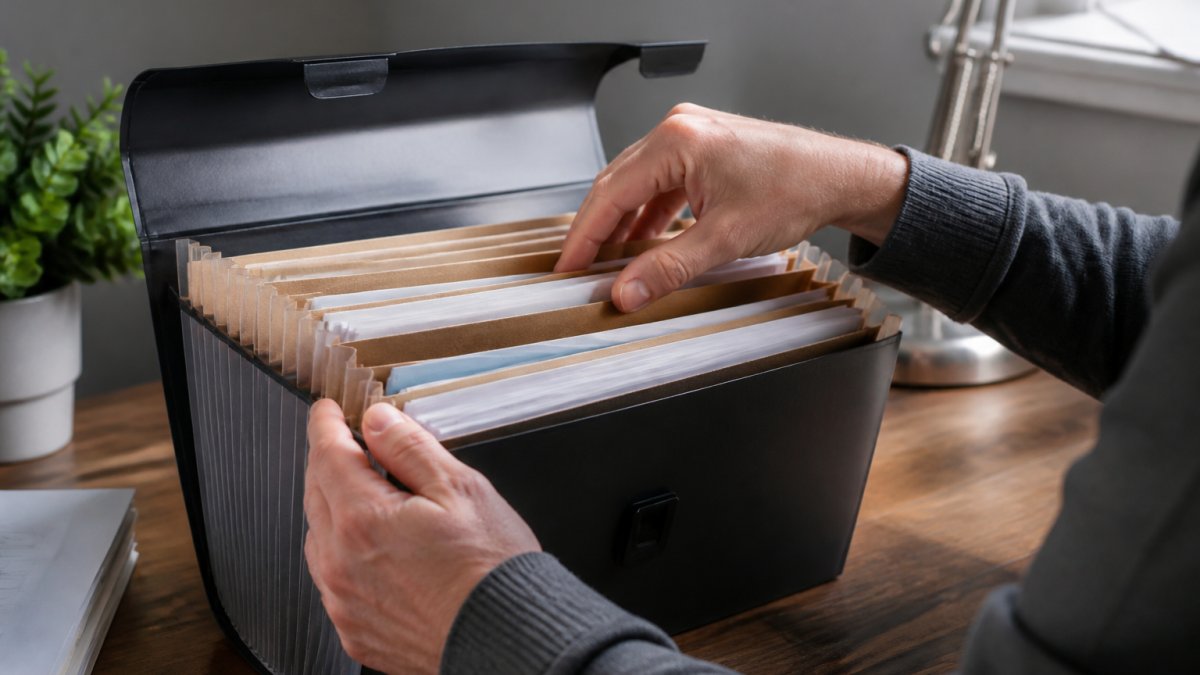
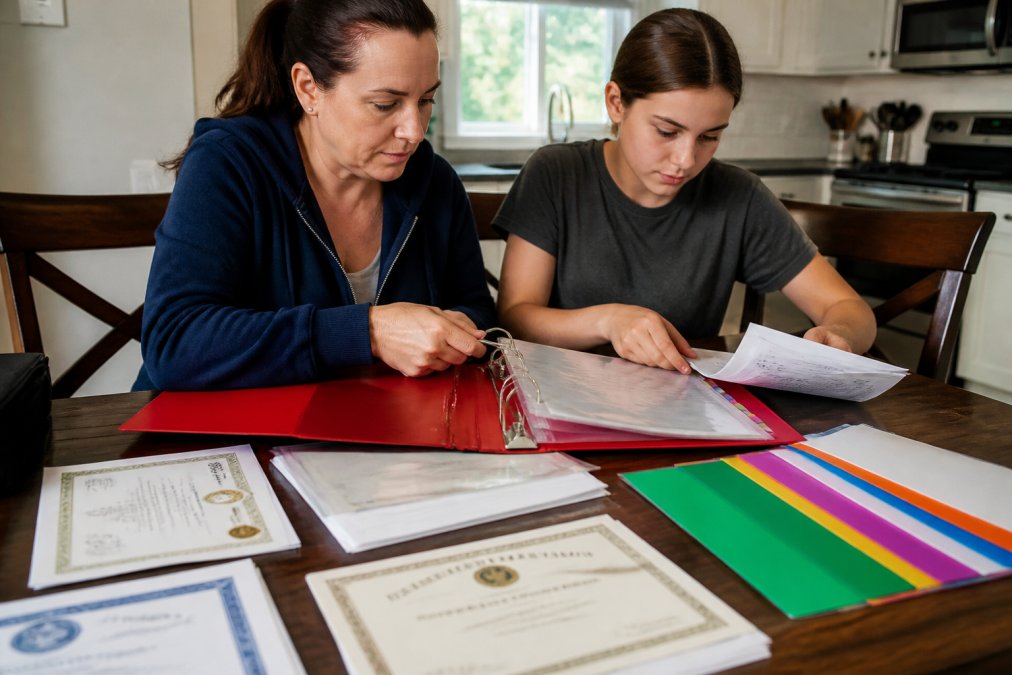
An emergency grab-and-go binder is a portable folder holding copies of your most critical records, ready to carry out the door. Keep originals in a safe; keep the binder for evacuations.
What Belongs in the Binder
Use tabbed dividers and keep it under two inches thick. Include:
- Copies of IDs for every household member
- Insurance policies and agent contact numbers
- Emergency contacts, including out-of-state relatives
- Prescription lists and physician names
- A printed copy of your document inventory
- A USB drive with your scanned files
Step 3: Learn How to Digitize Personal Records for Emergencies
Digitizing personal records for emergencies means converting paper documents into encrypted electronic backups you can access anywhere. Do this after the binder, not before.
Scanning Settings and File Formats That Matter
Save everything as PDF at 300 DPI for text documents; that keeps small print and signatures legible.
- PDF/A for long-term archiving
- 300 DPI for typed documents, 600 DPI for anything handwritten
- Color mode for documents with stamps or seals
- Black and white for plain typed pages to save space
Name files consistently: 2026_birth-certificate_jane-doe.pdf.
Step 4: Choose the Best Fireproof Document Bags and Safes
The best fireproof document bags and safes carry an independent fire rating, not just a marketing claim. Look for a UL classification on the label. A fireproof document bag fits inside a go-bag and protects against brief exposure; a fire-rated safe with a waterproof seal handles fire and flooding at home.
Check two things before buying:
- The fire rating in hours, typically 30 minutes to 2 hours
- Whether the seal is rated for water submersion
Step 5: Secure Digital Copies With Encryption and Off-Site Storage
Encryption and off-site storage turn a folder of scans into a real secure vault. A scanned passport in an unencrypted cloud folder is one credential-stuffing attack away from full identity theft.
Layer 1: Encrypt the Files Before They Leave Your Device
Cloud providers encrypt data at rest, but that protects the provider's disk, not your account. Encrypt the files themselves so a stolen login yields nothing readable.
- Encrypted container: Tools like VeraCrypt or the built-in encrypted disk image feature on macOS let you create a single password-protected vault file. Put all scans inside it, then upload only that vault file to the cloud. The cloud provider never sees the contents.
- Per-file encryption: For individual PDFs, most modern PDF readers let you set an open password and a permissions password. Use a different password than your cloud login.
- Full-disk encryption: Turn on BitLocker (Windows) or FileVault (macOS) on the device where you store scans. If the laptop or drive is stolen during an evacuation, the files are unreadable.
Layer 2: Store Passwords in a Password Manager, Not Your Head
You cannot memorize a unique strong password for every account under the stress of an evacuation. Use a password manager.
- Generate a unique 16-plus character password for each account: cloud storage, email, bank, insurance portal.
- Enable the manager's own two-factor authentication so the vault itself is protected.
- Print a one-time emergency access sheet, the manager's recovery kit, and store it in your grab-and-go binder. This is the analog backup for the digital vault.
Layer 3: Turn On Two-Factor Authentication Everywhere It Exists
Two-factor authentication (2FA) means a stolen password alone is not enough to log in. Prioritize:
- Email account, this is the master key. Password resets for everything else route through it.
- Cloud storage account, where the scans live.
- Financial and insurance portals, where claims and money move.
Layer 4: Apply the 3-2-1 Rule With a Twist
The CISA cybersecurity guidance recommends the 3-2-1 rule: three copies, two formats, one off-site. For disaster documents, add a fourth consideration, one copy that works with no internet and no power.
| Copy | Format | Location | Works Offline? |
|---|---|---|---|
| 1 | Encrypted cloud vault | Cloud provider | No |
| 2 | Encrypted external drive | Relative's home or safe deposit box | Yes, with a device |
| 3 | Printed copies in binder | Grab-and-go binder | Yes |
A Note on Cloud Provider Choice
Any major cloud provider works if you follow the layers above. Check three things before committing: 2FA support, version history (so ransomware can't overwrite your only copy), and phone-browser access when your main device is lost.
Step 6: Set Up a Document Maintenance Schedule
A maintenance schedule keeps records current so they work when you need them. Review quarterly and after any major life event.
| Frequency | Task |
|---|---|
| Monthly | Add new documents to the inventory |
| Quarterly | Re-scan anything updated |
| Annually | Verify cloud access and passwords |
| After life events | Update will, insurance, and beneficiaries |
Step 7: Retrieve and Rebuild After a Disaster
Most guides tell you where to store documents. Almost none cover the first 72 hours after a disaster, when the power is out, the internet is down, and your originals may be underwater. That workflow determines whether you recover in weeks or months.
Hour 0-24: Work From Your Offline Copies First
Do not wait for internet or cell service. Start with what works without either.
- Open the grab-and-go binder. The printed copies and the USB drive are your working set. The USB drive needs a device with a charge, keep a small power bank in the go-bag for exactly this.
- Photograph the binder pages with your phone. Even with no signal, your phone camera works. These photos become your portable reference and can be uploaded later when service returns.
- Write down your claim numbers and policy numbers on paper. If your phone dies, paper survives. Note the insurer name, policy number, and the 1-800 claims line for each policy.
Hour 24-72: Establish Identity Proof First
Everything downstream, insurance claims, federal aid, bank access, replacement IDs, depends on proving who you are. Work in this order:
- Government-issued photo ID. If your driver's license or passport is lost, your printed copy plus a utility bill or lease in your name is often enough to start the replacement process at a local office.
- Social security card. Replace through the Social Security Administration. You can start the process online once you have internet, or at a local office with your printed copy as reference.
- Birth certificate. Request from the vital records office in your birth state. Many states now allow online requests, but processing can take weeks, start it the day you have internet.
- Passport. Replace through the State Department. If you have urgent international travel needs, expedited processing is available for an additional fee.
When Internet and Power Are Still Down
This is the scenario most guides ignore. How to function without them:
- Use a public library or disaster recovery center. After a declared disaster, FEMA and local agencies often set up recovery centers with internet, charging stations, and staff who can help file claims. The FEMA disaster assistance resources lists open centers by location once you have any signal.
- Call, don't wait for the app. Insurance claims lines are staffed by phone even when apps and websites are down. Your printed policy number is what gets you through.
- Ask your bank about disaster forbearance. Many banks offer temporary fee waivers, deferred payments, and emergency cash access after a declared disaster. Ask specifically, it is not always automatic.
Rebuilding the Binder and Vault
As each replacement document arrives:
- Add a copy to the binder so the physical set is complete again.
- Re-scan and re-encrypt the new document into your cloud vault.
- Update the inventory with the new issue date and any new document numbers.
This rebuild step separates families ready for the next event from those who start from zero again.
A Realistic Timeline
Replacement timelines vary by agency and filing volume:
| Document | Typical Replacement Window |
|---|---|
| Social security card | 2-4 weeks |
| Birth certificate | 2-8 weeks, varies by state |
| Passport | 6-8 weeks standard, faster with expedite fee |
| Driver's license | Same-day at a local office, if you have supporting ID |
| Insurance claim payout | Weeks to months, depending on damage assessment |
Plan your finances around the slowest item on this list, not the fastest. Assume everything takes a month and be pleasantly surprised when something moves faster.
Common Mistakes to Avoid When You Organize Important Documents
The biggest mistake is storing everything in one place. A single fire, flood, or burglary then wipes out your entire set of records.
Other frequent errors:
- Keeping originals in a grab-and-go bag instead of copies
- Skipping encryption on cloud backups
- Never updating the inventory after a move or marriage
- Forgetting medical records and prescriptions
- Assuming digital alone is enough without a physical off-site copy
Frequently Asked Questions
What are the 5 P's of preparedness?
The 5 P's are people, personal items, priceless items, prescriptions, and papers. In practice, you build your plan around who you are responsible for, the medications and glasses they need, irreplaceable items like family photos, prescription refills, and the documents that prove who you are. When you organize important documents for disasters, the 'papers' category covers birth certificates, Social Security cards, insurance policies, deeds, and powers of attorney. Keep all five categories in one grab-and-go system so nothing gets left behind.
Which essential documents should be in a disaster grab-and-go binder?
Your binder should hold originals or certified copies of birth certificates, Social Security cards, marriage licenses, passports, driver's licenses, insurance policies, deeds or lease agreements, vehicle titles, and a current list of emergency contacts. Add medical records, prescription lists, and a power of attorney or last will and testament. Use waterproof sleeves and label each tab. Keep the binder under 5 pounds so it stays portable, and store a duplicate set of copies at an off-site location or in encrypted cloud storage.
How do I digitize personal records for emergencies without losing quality?
Scan at 300 DPI in color and save each document as a PDF or PDF/A file, which is the standard portable document format for long-term archiving. Name files with a clear convention like '2026_BirthCertificate_JaneDoe' so you can find them fast. Store the files in at least two places: an encrypted cloud vault and an offline drive kept in a fire-rated safe. Recheck scans every year for legibility. Do not rely on phone photos for legal documents; flatbed scans hold up better when you need to print or email a copy to an agency.
How often should I update my emergency document file?
Review the full file once a year, ideally in the same month each year, and after any major life event such as a marriage, divorce, birth, death, home purchase, or job change. Replace expired insurance policies, update powers of attorney if your named agent changes, and refresh your emergency contacts list. Financial statements and tax returns can be rotated out after seven years. A 30-minute annual review keeps the binder accurate and prevents a rejected claim or delayed benefit after a disaster.
Most households mean to get organized and never do, until a storm or outage forces the issue. SHTF Prepper Club makes that first step manageable with expert-vetted gear and step-by-step preparedness guides built for real families. Our curated kits cover water filtration, power, and safety, and our long-term food storage solutions hold up to a 25-year shelf life with minimal preparation. Get started with SHTF Prepper Club and build a household that's ready before you need it.