
Table of Contents
- Assess Your Water Source and Contamination Risk
- Choose the Right Testing Method for Your Emergency Water Testing Kit
- Collect and Transport a Water Sample Safely
- Test for Bacteria and Fecal Indicators in Drinking Water
- How Long to Boil Water in an Emergency
- Private Well Water Testing After a Disaster
- Interpret Test Results and Respond to Contamination
- Frequently Asked Questions
Last Updated: October 21, 2026
Assess Your Water Source and Contamination Risk
When a waterline break, flooding, or power loss strikes, knowing how to test water quality in emergencies is your first step, not assuming the water is still safe.
How to test water quality in emergencies starts with identifying what happened to your source: a burst pipe, rising floodwaters, or days without power.
Identify the hazard: flooding, waterline breaks, or private wells
Flooding introduces fecal contamination as sewage, animal waste, and runoff mix with drinking water. Waterline breaks create negative pressure that pulls contamination in from surrounding soil.
Risk depends on the source: public systems have backup treatment, private wells do not. A broken waterline in your yard is an emergency; a break three blocks away might not affect you at all.
When visual, taste, and odor checks are not enough
You cannot see bacteria or taste most pathogens. Discolored water suggests sediment, but clear water can harbor E. coli, and the absence of odor means nothing.
Microbial contamination is invisible. Testing water quality in emergencies means moving past sensory checks to lab analysis or field tests.
Choose the Right Testing Method for Your Emergency Water Testing Kit
Two main paths exist: at-home test kits or laboratory testing. Each has strengths and limits.
At-home test kits versus laboratory testing
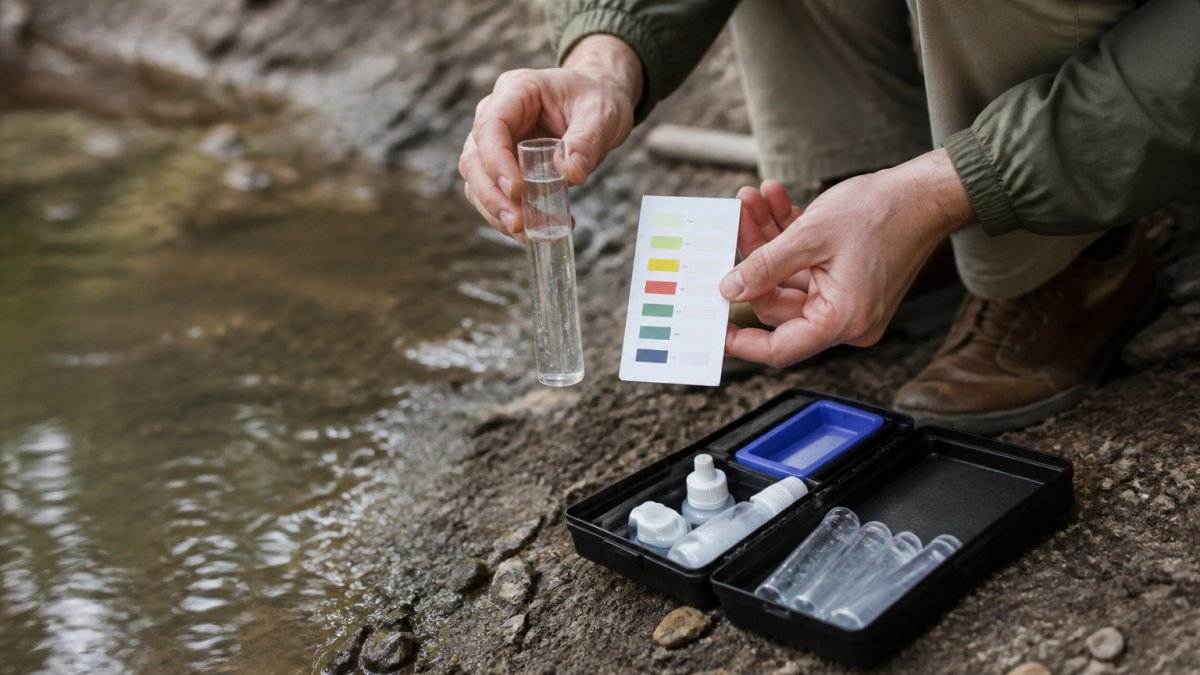
At-home kits are fast: collect a sample, get results in 24 to 48 hours, and test for bacteria presence or absence in a 100 mL sample.
Laboratory testing takes 3 to 5 business days but delivers official results.
For emergencies, start with an at-home kit for speed.
Accuracy, turnaround time, and cost considerations
At-home kits detect total coliform presence or absence but don't identify specific pathogens or measure bacterial load.
Laboratory tests identify E. coli, thermotolerant coliform, and total coliform separately, detect pathogens at lower levels, and provide quantitative results.
Your local health department can direct you to certified labs. Many offer emergency testing with expedited results during declared disasters.
Collect and Transport a Water Sample Safely
Your sample must accurately represent your water supply. Contamination during collection ruins the test and wastes the most valuable resource in an emergency: time.
Step-by-step sample collection checklist
Follow this process to collect a valid sample, and save it to your phone before an emergency.
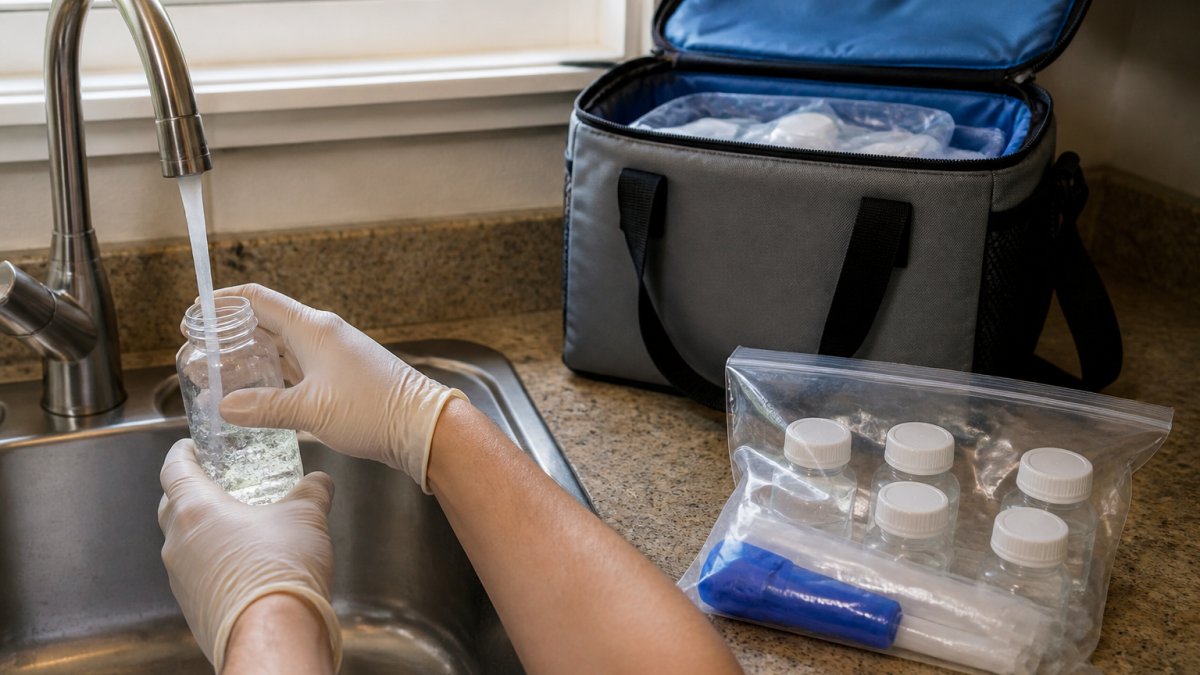
- Gather supplies: sterile sampling bottle (usually provided with a test kit or by the lab), disposable latex or nitrile gloves, a clean towel, and a cooler with ice packs if transport will take more than a few hours
- Wash your hands with soap and water, or use hand sanitizer, before putting on gloves
- Remove any aerator or screen from the tap if it unscrews easily, then run cold water for 30 seconds to clear the line
Handling and transport to avoid cross-contamination
Never let the cap touch any surface, and don't reopen the bottle after sealing.
Transport the bottle in a sealed bag separate from food or personal items, with the collection time written clearly.
For a private well, sample from the tap closest to the well pressure tank, not an outdoor faucet; outdoor lines accumulate sediment and may not represent actual well water quality.
What the lab needs from you
Before you collect, confirm three things: the lab's required sample volume (some request 250 mL or 500 mL), its holding-time limit (often 24 to 30 hours), and whether it accepts public samples. Some health departments provide free sterile bottles with pre-paid shipping labels during declared emergencies.
Sample collection when the tap is not usable
If your tap is dry or the system is depressurized, collect from a storage tank, wellhead, or container of hauled water using the same sterile bottle and gloves. For a well, use the spigot closest to the pressure tank after the pump clears the line.
Test for Bacteria and Fecal Indicators in Drinking Water
Bacteria testing focuses on two categories: total coliform and E. coli (thermotolerant coliform).
Understanding E. coli, total coliform, and thermotolerant coliform
Total coliform bacteria live in soil, vegetation, and animal waste.
E. coli is a thermotolerant coliform that survives in warm environments and directly indicates fecal contamination.
Thermotolerant coliform is the broader category; E. coli is the most concerning member. If a lab reports it as present, assume fecal contamination and act immediately.
What a 100 mL sample tells you
A 100 mL sample is the standard volume for bacterial testing. Labs check whether coliform bacteria are present or absent, giving a binary result; most at-home kits work the same way.
A positive result means coliform (or E. coli) is present in that sample.
How Long to Boil Water in an Emergency
Boiling kills most pathogens quickly. It is the most reliable emergency disinfection method available without specialized equipment.
Rolling boil method and microbial disinfection
Bring water to a rolling boil, with vigorous bubbling across the entire surface, and maintain it for at least 1 minute, or 3 minutes above 6,500 feet (the CDC).
Let boiled water cool before drinking, and store it in clean, covered containers; boiled water remains safe indefinitely if protected from recontamination.
Boiling limitations for chemical contamination
Boiling does not remove chemicals. Pesticides, heavy metals, nitrates, and petroleum products survive boiling. If you suspect chemical contamination, fuel spill, industrial accident, or agricultural runoff, boiling alone is insufficient.
For chemical contamination, activated carbon filters may help with some contaminants, but the most reliable option is stored water or waiting for the system to be flushed and tested.
Private Well Water Testing After a Disaster
Private wells require special attention during emergencies. They lack the redundancy and monitoring of public systems.
When flooding or power loss affects well safety
Flooding near a well creates immediate risk. Floodwaters can breach the wellhead and introduce contamination directly. Power loss stops the pump, eliminating pressure that protects the system from backflow contamination.
Test your well water immediately after flooding or extended power loss. Many private well owners discover contamination only through testing after a disaster.
Working with your local health department
Your local health department maintains lists of certified labs that test private well water and can advise on required tests and whether expedited testing is available during emergencies.
Many health departments offer guidance on well disinfection if contamination is detected. Some provide free or reduced-cost testing during declared disasters.
EPA guidance on private well testing outlines recommended testing protocols. CDC information on water safety after disasters provides emergency-specific recommendations.
Interpret Test Results and Respond to Contamination
Test results come back as positive, negative, or inconclusive. Understanding what each means guides your next action, and the action matters more than the label.
Positive, negative, and inconclusive results
Positive result: Coliform or E. coli detected means your water is contaminated.
Negative result: No coliform detected in the 100 mL sample, but contamination may exist elsewhere in your system.
Inconclusive result: Some at-home kits show unclear results, such as a color change between reference shades or a gas bubble that doesn't form.
How to respond to each result: a decision workflow
The test result is the start of a decision, not the end. Use this workflow to connect the result to a concrete next step.
- Positive result on a public system: Follow the boil-water notice or advisory from your utility. If no advisory has been issued, call the utility and your local health department. Do not rely on the test alone to clear your tap; the utility must flush and test the system before the advisory is lifted.
- Positive result on a private well: Stop drinking the water. Boil or use stored water. Disinfect the well following your health department's protocol (often a shock chlorination with a specific chlorine concentration and contact time), then retest after the disinfecting process is complete. Do not retest immediately after chlorination; residual chlorine can produce a false negative.
- Negative result during an active emergency: Keep boiling or using stored water until the utility or health department lifts the advisory. A negative sample from one tap does not clear the system. Retest after 48 hours, especially after repairs or when floodwaters recede.
What to do while waiting for results
Do not wait for test results to act. Assume water is contaminated if the emergency is recent.
If your household includes infants, elderly relatives, or immunocompromised individuals, be more cautious.
A reliable emergency water testing kit paired with boiling capability and stored backup water creates a complete safety system.
When to retest and when to stop testing
Retest after 48 hours if initial results were negative, since contamination can shift after repairs or when floodwaters recede. Stop testing only when you have two consecutive negative results and, for a public system, the utility has lifted its advisory. For a private well, stop when a post-disinfection sample is negative and your health department confirms the well is clear.
Frequently Asked Questions
Is there a way to test water quality at home?
Yes. At-home water test kits can detect bacteria, E. coli, total coliform, pH, and some chemical contaminants. These kits are fast and affordable but less sensitive than laboratory testing. For a 100 mL sample, at-home kits use presence-or-absence indicators to show whether pathogens are present. If results are positive or unclear, send a sample to a certified laboratory for confirmation.
Can a home water test kit detect bacteria, viruses, or parasites?
Most at-home kits test for indicator bacteria (E. coli and total coliform) but not viruses or parasites. Bacteria tests are reliable for detecting fecal contamination. Viruses and parasites require laboratory testing with specialized equipment. If you suspect viral or parasitic contamination, such as after flooding, use a certified laboratory rather than an at-home kit.
What should you test for in emergency drinking water?
Test for total coliform and E. coli bacteria first, they indicate fecal contamination. Also check pH and total dissolved solids if available. Chemical testing (nitrates, lead) is less urgent in acute emergencies but important for private wells. After a waterline break or flooding, prioritize microbial testing. Your local health department can advise on specific hazards in your area.
When should you use a certified laboratory to test water?
Use a certified laboratory if at-home results are positive, inconclusive, or if you suspect chemical contamination. Labs detect pathogens with higher sensitivity and can identify specific contaminants. For private well water testing after a disaster, contact your local health department, they often provide free or low-cost laboratory testing and can guide you on sampling and turnaround times.
When your water supply is compromised, testing removes the guesswork. Whether you use an at-home kit for speed or send samples to a certified lab for certainty, the goal is the same: confirm safety before your family drinks. At SHTF Prepper Club, we provide expert guidance and emergency water testing kits designed for real-world disasters. Get started with a tested emergency water solution and the knowledge to protect your household when it matters most.